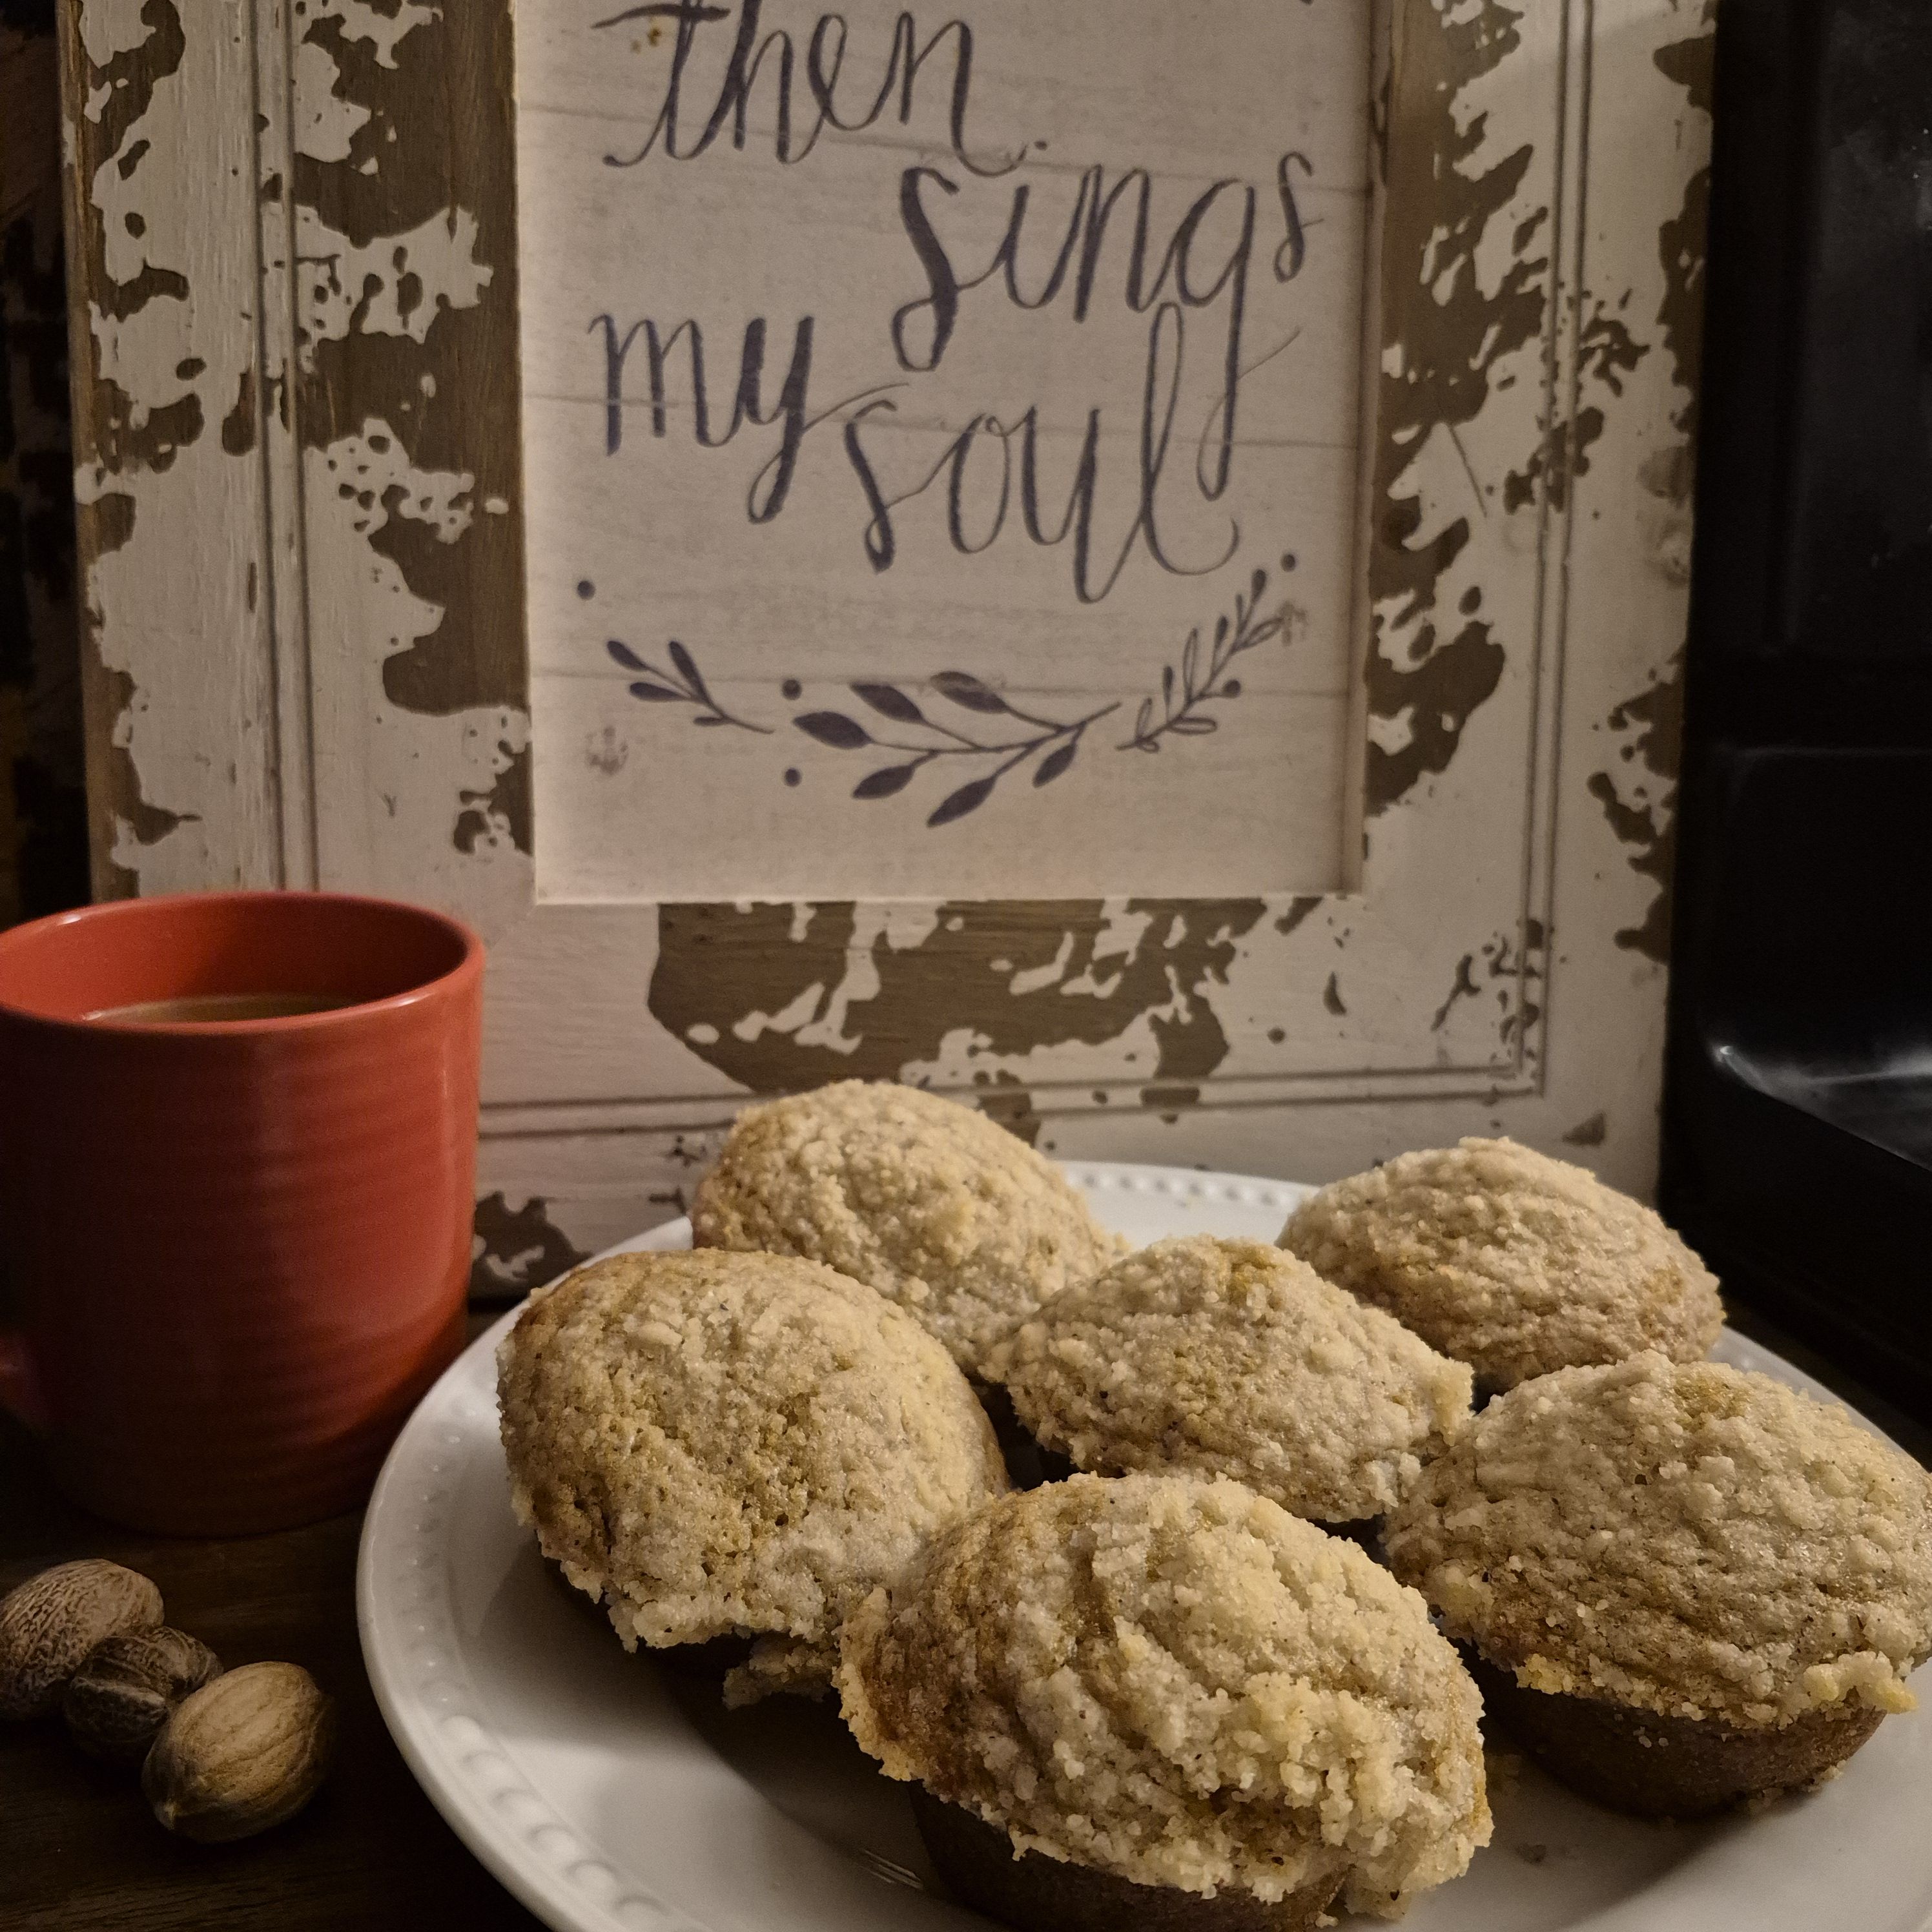
Maybe the cool weather is getting to me. Maybe I like pumpkin spice more than I thought. Whichever is the case, here’s a recipe I had to share. These muffins turned out so delicious I couldn’t keep them to myself.
Pumpkin Spice Muffins (24 muffins)
Ingredients
Dry:
3 ½ cups all-purpose flour
2 tsp baking soda
2 tsp baking powder
1 tsp salt
2 tsp cinnamon
2 tsp nutmeg
1/2 tsp ground ginger
1/2 tsp ground cloves
Wet:
2 cups canned pumpkin purée (NOT pumpkin pie filling)
1 cup granulated sugar
1 cup brown sugar, packed
1 cup sour cream
1 cup melted butter
4 large eggs
2 tsp vanilla extract
Streusel Topping
1 cup all-purpose flour
¾ cup granulated sugar (or half brown sugar, half white for deeper flavor)
1 tsp cinnamon
½ tsp nutmeg
½ cup cold unsalted butter, cubed
Instructions
Preheat oven to 350°F (175°C). Line 24 muffin cups with paper liners (or grease).
Make the streusel: In a bowl, whisk flour, sugar, and spices. Cut in butter with a pastry cutter or your fingers until mixture looks like coarse crumbs. Chill while you prepare the batter.
Mix dry ingredients: In a large bowl, whisk flour, baking soda, baking powder, salt, and spices.
Mix wet ingredients: In another large bowl, whisk together pumpkin, both sugars, sour cream, oil, eggs, and vanilla until smooth.
Combine: Add dry ingredients to wet and stir just until combined (don’t overmix).
Fill muffin tins: Divide batter evenly among 24 cups (about ⅔ full).
Top: Sprinkle each muffin generously with streusel.
Bake: Bake 20–24 minutes, until a toothpick inserted in the center comes out clean.
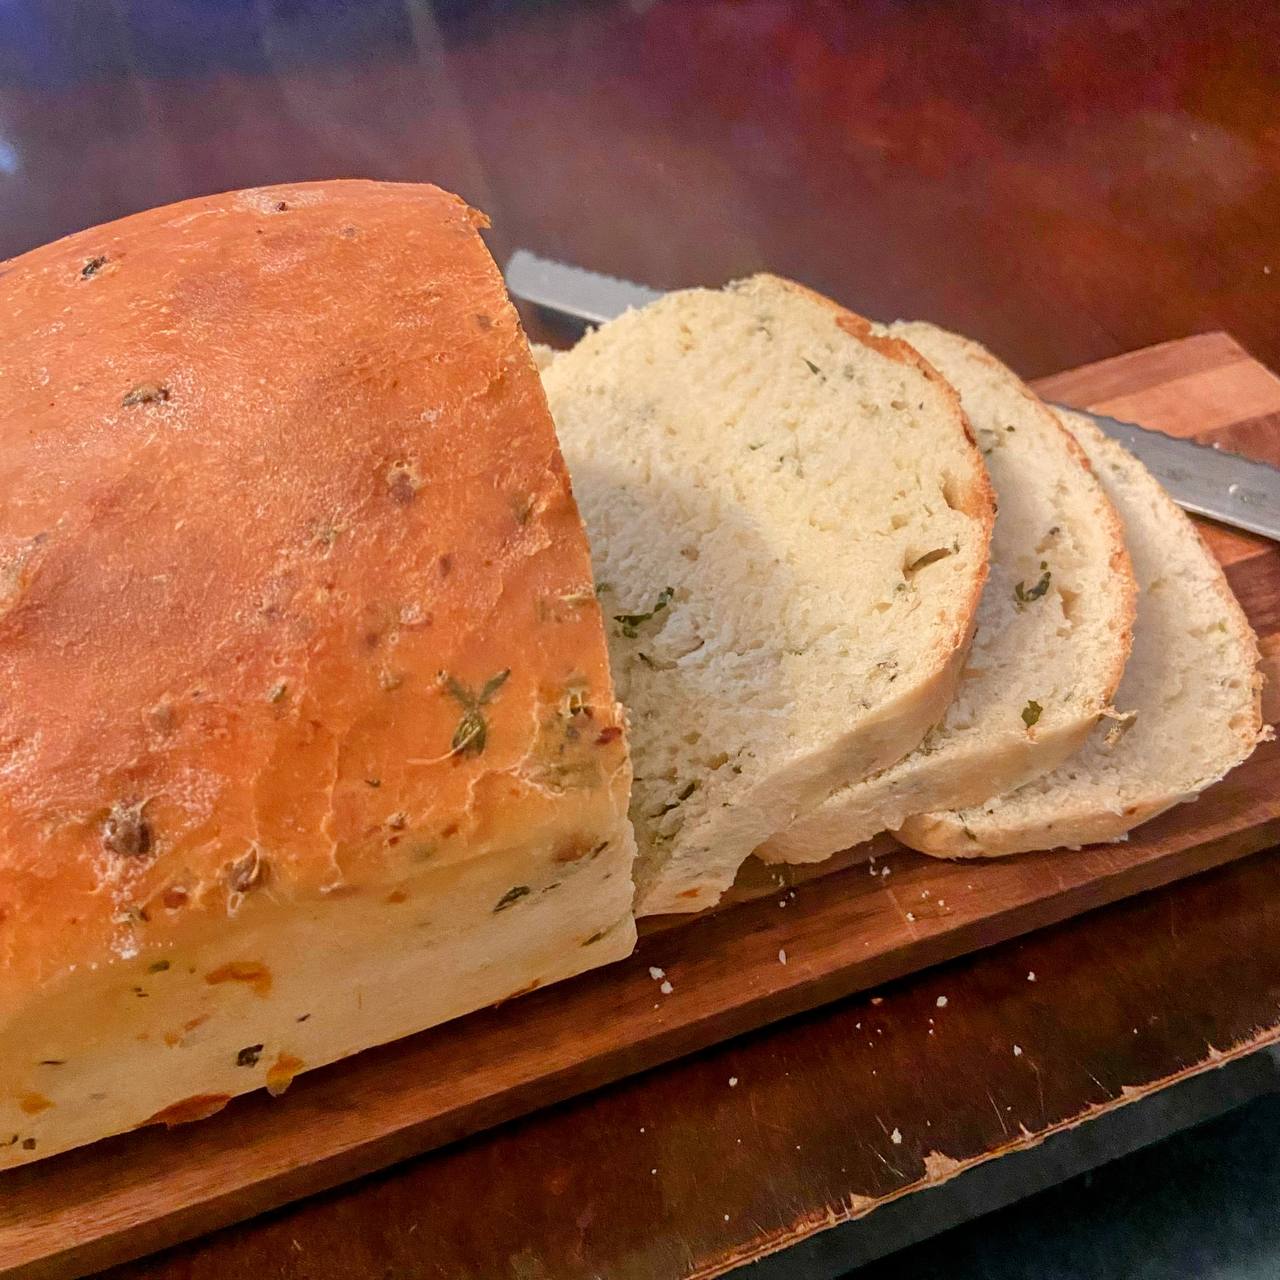
I love making bread. There’s nothing quite like the look of bread dough rising or the smell of it coming out of the oven or the taste of hot buttered slice fresh off the loaf.
I’ve experimented with several different varieties of bread. From oat bread to seedy bread to whole wheat bread. I found out I like them all.
This recipe, however, is one I use when I feel like making some extra special bread. It takes extra time and effort, but it is worth every minute. Believe me!
This recipe is all my own, so if there is anything wrong with it, I have no one to blame but me. Thankfully, I know of nothing wrong with it. 🙂
Anyway, on to the details of the bread. There are several things that make this bread unique.
Buttermilk. I replaced the typical water with warm buttermilk, and it really takes this loaf up a notch. Super soft and moist.
Fresh herbs. You might be able to use dry herbs in place of fresh, but I’ve never tried it and don’t think it would work quite as well. I have used several different blends of herbs and they were all good. Rosemary, thyme, and parsley is a delicious combo. Chop them fairly small and discard the tough stems.
Cheddar Cheese. While not an absolute necessity, it does add a nice flavor. It’s also delicious without it, but I’ll give the recipe with cheese included. Other kinds of cheese would probably be good as well.
Homemade Herb Cheese Bread
Ingredients
2 c Warm Buttermilk
2 T Sugar
2 t Yeast
2 t Salt
1/4 c Oil (or melted butter or lard)
4.5-5 c Flour
1/2 c Fresh Herbs, chopped
1/2 c Cheddar Cheese, grated
Instructions
Put warm buttermilk, sugar, and yeast in bowl of stand mixer. If you’re using active yeast, let it bloom for 5-10 minutes until foamy. If you’re using instant yeast, blooming is not needed.
Stir to make sure sugar and yeast are mixed in and not stuck on the bottom.
Add the salt, oil of choice, and flour.
Mix until flour is mostly incorporated then add chopped herbs and shredded cheese.
Continue to knead until everything is well mixed and the dough is pulling away from the sides of the bowl. Add more flour if needed.
Keep mixing for at least 5 minutes. I’ve found that the longer you knead the dough, the softer the bread is. If the dough stays really soft and sticky and you don’t want to add more flour, it should still work. I’ve had it happen to me lots of times, especially in warm or humid weather, and the bread turns out great. You just have to kinda pour the dough into the bowl and then the loaf pans instead of forming it.
Transfer the dough into a large, greased bowl, cover, and let rise until doubled. About 1-1.5 hours.
Form dough into a loaf, or two if it rose enough, and place in a greased 9×5 bread pan. Cover and let rise until the center is about 1-2 inches above the edge of the pan. I usually turn the oven on to preheat and let the pans sit on top the stove to cut down the rise time.
Preheat oven to 375 degrees
Bake at 375 degrees for 15 minutes, then without taking the bread out, turn the oven down to 350 degrees and bake another 20 minutes or until the bread is golden brown and sounds hollow when tapped.
Try to let it cool before you blister your fingers to get it out of the pans and sample it. If you’re like me and mine, you’ll endure the pain just to get a fresh, hot slice with butter. 🙂
Serve warm with stew or baked chicken or cool as a delicious sandwich base. Whatever you do, make sure you enjoy it!
Around here, we usually keep breakfasts pretty simple. Bacon and eggs, eggs and bacon, that sort of thing. Sometimes, for variety, we add cottage cheese, veggies, or fruit to the menu.
And then, other times, we feel like splurging a bit. Usually in those cases, our minds (Tim’s for sure!) turn to biscuits.
Finding the perfect recipe was a bit of a journey. Especially since we started with store-bought biscuits out of a can. I still shudder sometimes to think of it.
This recipe is not original to me. I found it online at bakerbettie.com
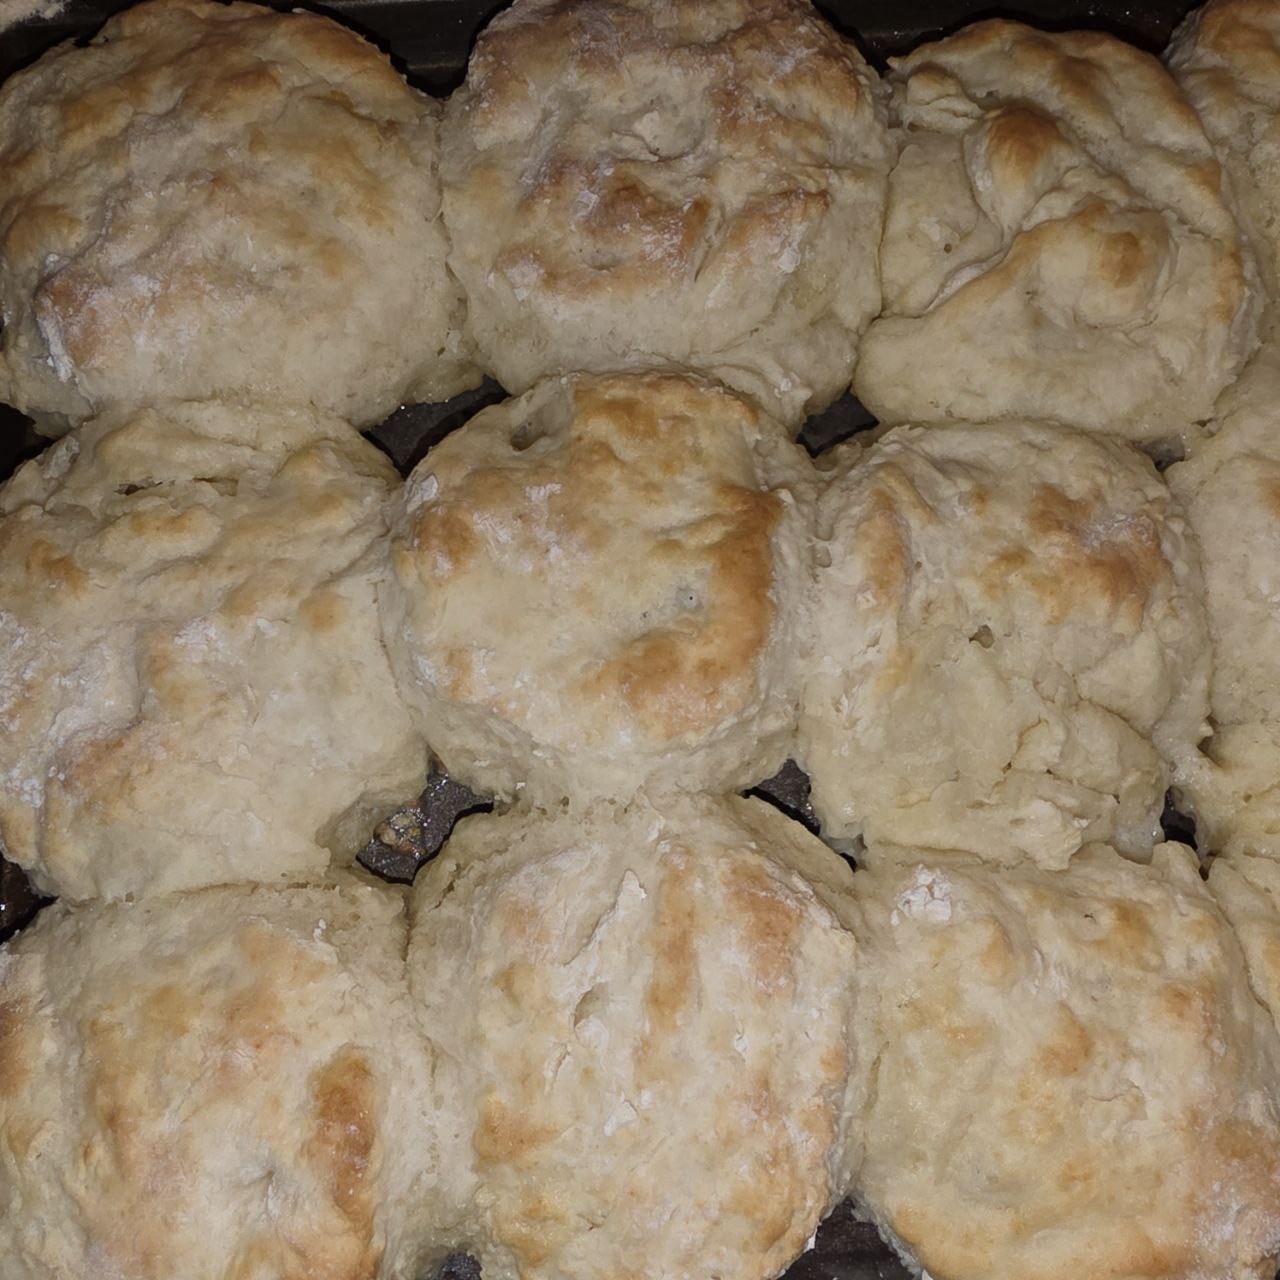
The enjoyment we get from eating these flaky rounds of yummyness is ours, though. They are amazing with butter and honey or jam, with Tim’s delicious sausage gravy, or as breakfast sandwiches. Or even reheated with a little butter.
OLD FASHIONED LARD BISCUITS
Ingredients
2 c Flour
1 T Baking Powder
1/4 t Baking Soda
1 1/4 t Salt
6 T Leaf Lard, cold *
1 c Buttermilk, cold
Instructions
Preheat oven to 450 degrees and make sure an oven rack is in the center of the oven.
Grease a cake pan or cookie sheet or line with parchment paper or a silicone baking mat, if desired. I never grease my pan for biscuits and they seldom stick more than a little bit. If you use a cookie sheet, make sure it has a rim to keep any melted lard from running off.
Keep lard and buttermilk in the refrigerator until needed.
In a large mixing bowl, combine the dry ingredients and whisk. *
Add in the cold lard and cut into the flour mixture using a pastry blender or fork. You want the lard to be mostly in pea-sized pieces with a few larger.
Add the cold buttermilk and stir with a spoon or spatula until just combined. This will not take long and you don’t want to overmix as the biscuits will be tough. The batter/dough will be pretty wet and sticky.
Turn the mixture out onto a floured table or countertop. Dust flour over the top. With floured hands, bring the dough into one mass.
Pat the dough out and then fold in half. Turn 90 degrees and pat out again. Repeat this 5-6 times. The folds help the biscuits end up flakier.
Press the layered dough out until it’s about an inch thick and use a round cutter that has been dipped in flour to cut the biscuits. Press straight down with the cutter and do not twist. Pat the scraps back together and cut again. Or you can pat the dough into a rectangle and use a sharp knife to divide into 8 biscuits.
Place the biscuits in the prepared pan, making sure the edges are touching to help the biscuits rise.
Bake for 13-15 minutes until golden brown. Do not open the door for at least the first half of the bake time. Keeping the steam trapped inside the oven helps with the rise.
Let cool, if possible, and then enjoy however you choose.
Notes
* I have substituted butter, tallow, and bacon grease for the lard with no problems. You just want it cold when it goes in.
*I make mine in my stand mixer and it works just great. Just don’t overmix.
I don’t know about you and yours, but in this house, we like tortillas. And I mean like tortillas.
If I want kids jumping up and down while screeching in delight, all I have to do is casually mention that we’ll need tortillas made for supper. Whether it’s tacos, fajitas, enchiladas, or burritos, those tortillas are always a big hit.
In fact, with how much Tim and the kids (and I) love tortilla-based meals, you’d think he had Spanish roots instead of Italian.
We started out always buying our tortillas, because making them seemed too daunting. While we really enjoyed fresh tortillas when we went out for Mexican food, it made my eyes cross and my brain itch to even think about making them.
Then, health problems started pushing us to switch from buying everything to trying to make more food from scratch—especially things like bread and tortillas.
Bread felt like the easier place to start, but one can only go so long without tacos or fajitas. Right?
So I went hunting and digging and found a tortilla recipe that I decided I’d try. I gathered the ingredients—and my courage—and dove in.
While the recipe wasn’t difficult, I worried the whole time that it wouldn’t work. And talk about time-consuming!
Mixing the dough was easy; separating it into portions was trickier. Letting them sit, covered, for an hour or so was simple, but I stressed about them the whole time.
The hardest part by far was rolling them out and frying them up. That first batch took over an hour—maybe two—before they were even ready to eat!
Were they worth the hassle? Yes, definitely.
One thing I struggle with is the temptation to balk at trying anything new. And for whatever reason, tortillas just seemed like one of those things.
Now? Tortillas feel like one of the easiest things to make. Funny how it works like that, isn’t it?
Except… I hardly ever have to make them anymore.
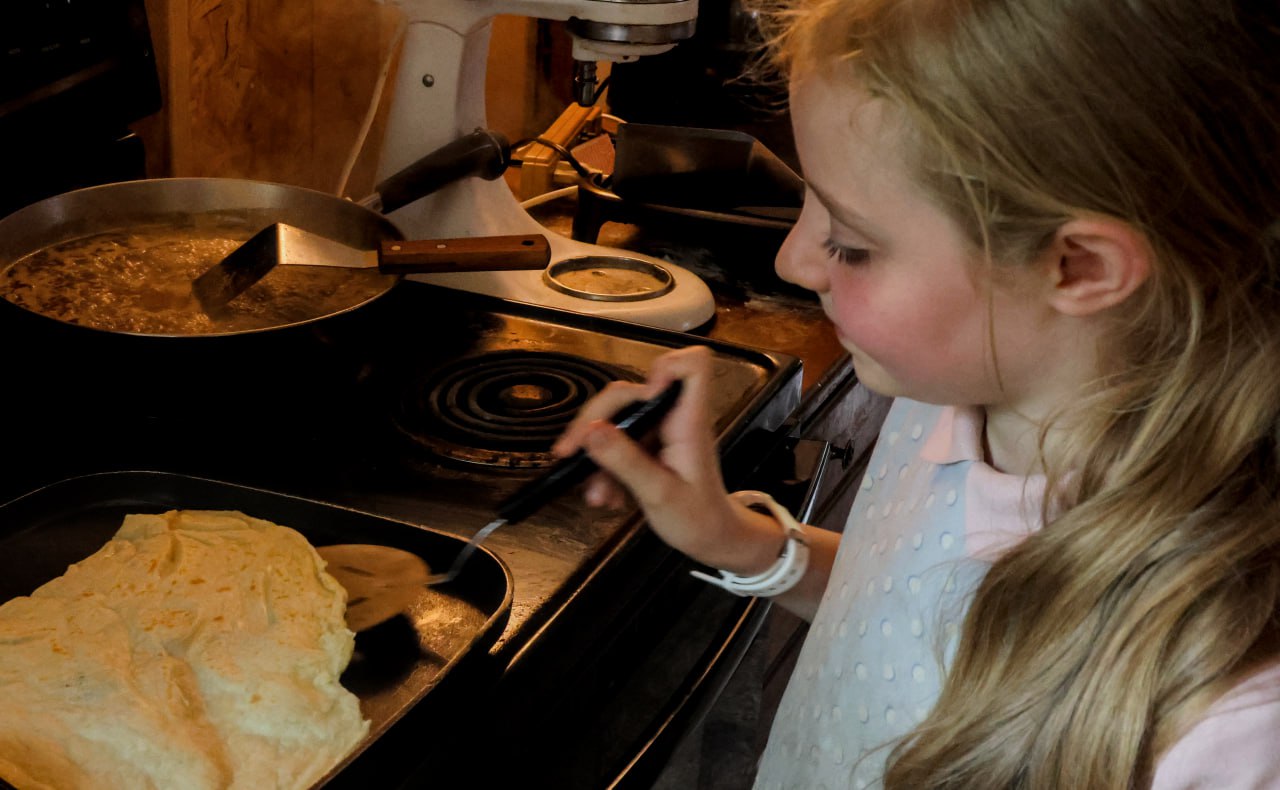
Alayna, our oldest daughter, has done her best to establish herself as the “bread-maker” of the family. Whether it’s sandwich bread, hamburger buns, or tortillas, she practically begs to be the one to make them.
She’s pretty pleased with herself for being able to make tortillas from memory now—and I’d say that’s not bad at all for an 8-year-old!
I still do all the rolling myself. Micah and Alayna have both tried, but between not enough height and not enough upper arm strength, it just works better if I handle that part for now.
They do, however, claim the job of frying the tortillas—and they do a pretty good job of turning out lightly browned deliciousness every time.
What happens to leftover tortillas, you ask? Well, they rarely get left. But when they do, one of two things happens:
Either the kids decide they want a snack and clamor to eat them plain, or Tim gleefully makes himself a cheesy quesadilla.
Either way, tortillas around here have a short life—but one joyfully dedicated to making our family happy and full.
Our Go-To Tortilla Recipe
I don’t remember where I found this recipe, but it’s become a staple in our home. One batch never cuts it for us, but it’s a great place to start!
Ingredients:
3 cups flour
1 teaspoon salt
1 teaspoon baking powder
1 cup warm water
1/3 cup lard (or oil or butter)
Instructions:
Mix the dry ingredients in the bowl of a stand mixer or by hand.
Add the water and lard, and mix until well combined.
Knead (in the mixer or by hand) for at least 5–7 minutes—longer kneading makes better tortillas.
Divide dough into 8 equal pieces. Flatten slightly on a lightly floured surface.
Cover and let rest at least 15 minutes or up to 2 hours.
Roll out each piece on a floured surface.
Fry in a dry skillet on medium to medium-high heat until bubbles form and the underside has golden-brown spots. Flip and cook the second side (it takes less time than the first—usually about 30 seconds).
Keep warm in a low oven (we use the “Warm” setting) on a cookie sheet until ready to eat.