Category: Uncategorized

  • Flaky Homemade Pie Crust

    Flaky Homemade Pie Crust

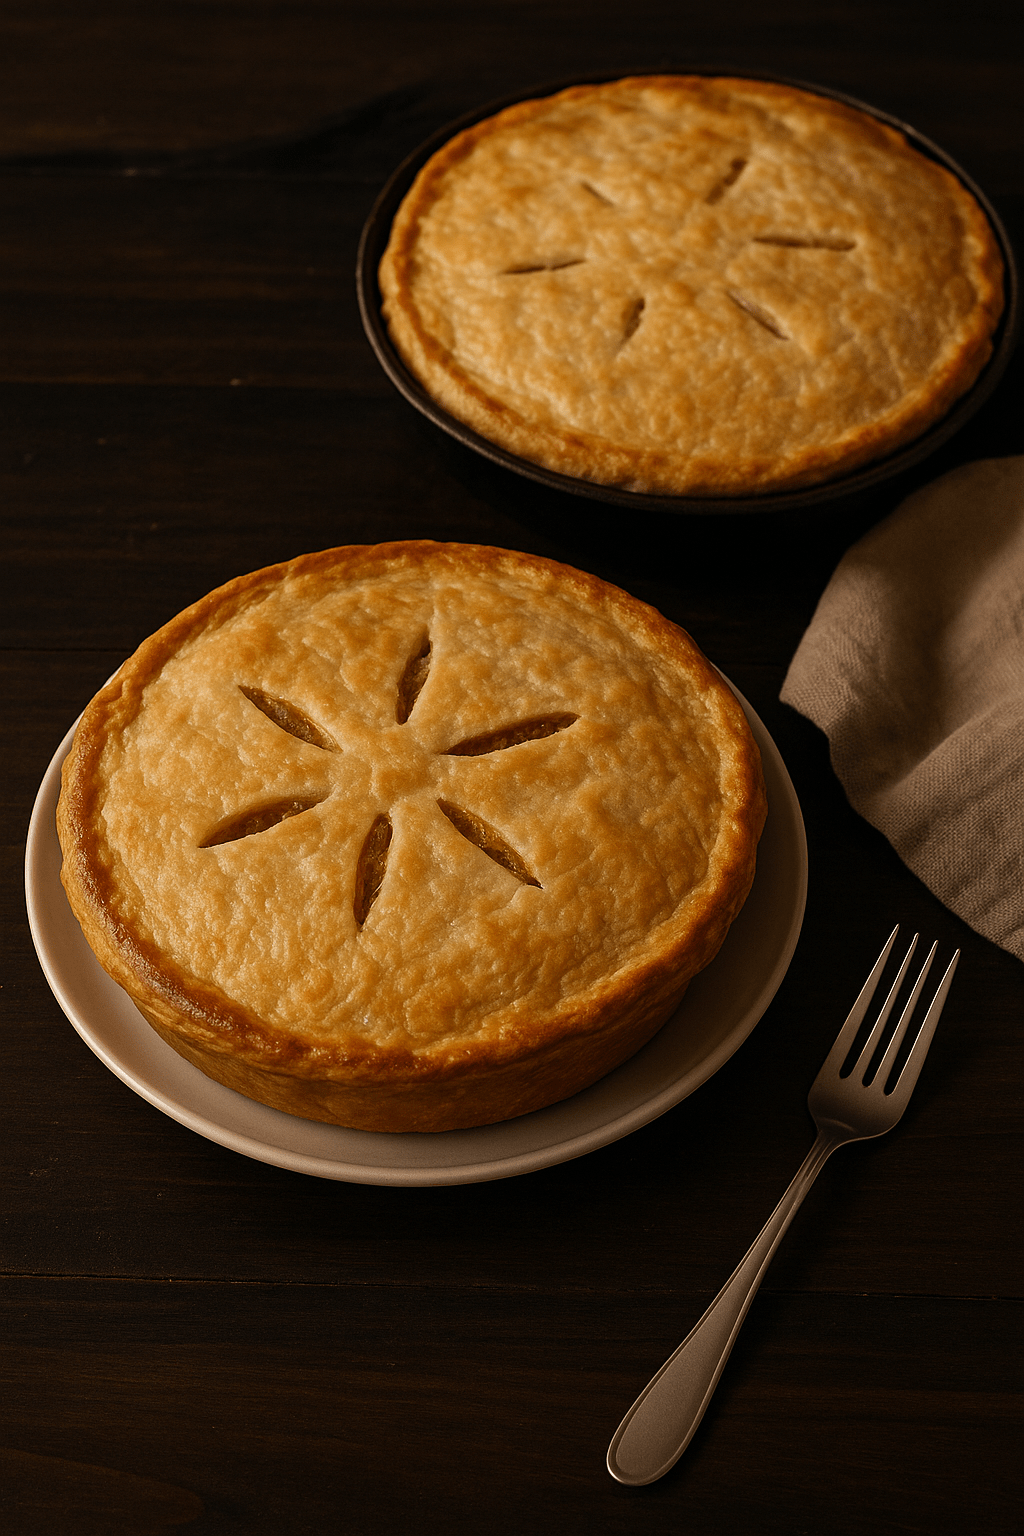
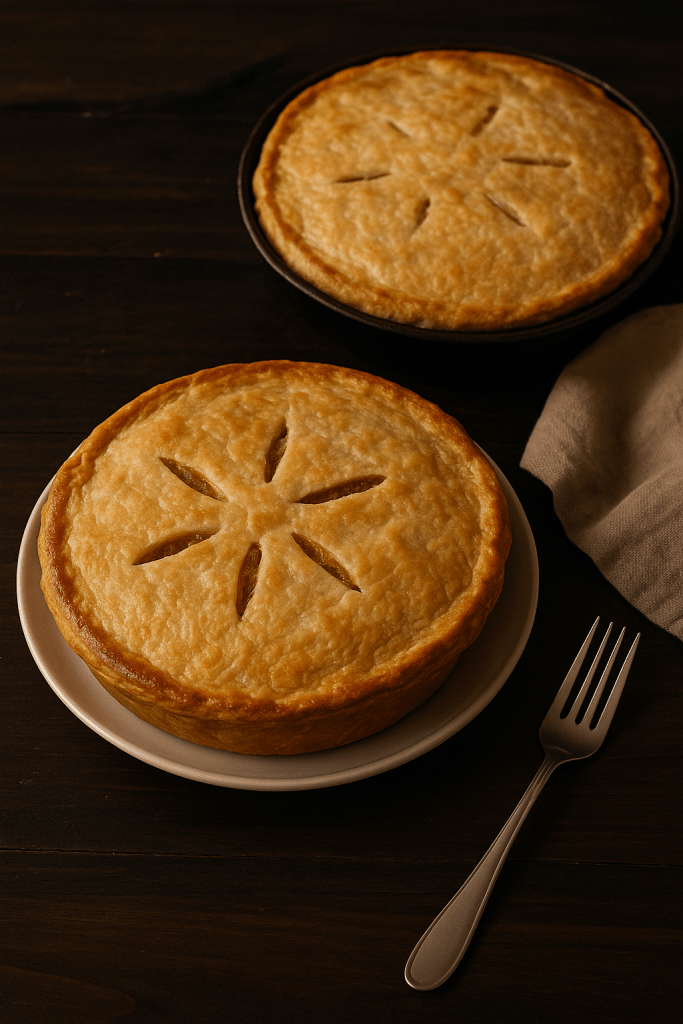
    A classic, buttery, reliable crust for fruit pies, pot pies, cream pies, and more.

    This is my go-to pie crust — tender, flaky, and simple enough for everyday baking yet sturdy enough for deep-dish pies and savory pies. It uses basic pantry ingredients and comes together quickly, even in large batches.

    Ingredients

    (Makes one double crust or two single crusts)

    • 2 ½ cups (315 g) all-purpose flour
    • 1 teaspoon salt
    • 1 cup (2 sticks / 226 g) cold unsalted butter
      • or ½ butter + ½ lard for extra flake
    • 6–8 tablespoons ice water
    • Optional: 1 teaspoon vinegar or lemon juice (helps prevent toughness)

    Instructions

    1. Mix dry ingredients.

    Whisk together flour and salt in a large mixing bowl.

    2. Cut in the fat.

    Add cold, cubed butter.
    Use a pastry cutter or your fingertips to blend until the mixture has pea-sized pieces with some larger flakes.
    Visible butter = flaky crust.

    3. Add water.

    Sprinkle in 4 tablespoons of ice water, tossing gently.
    Add more water, 1 tablespoon at a time, just until the dough holds together when squeezed.
    Do not overwork.

    4. Chill.

    Divide the dough into two discs, wrap tightly, and refrigerate for at least 1 hour (or up to 2 days).
    This rest time relaxes the dough and keeps the butter cold.

    5. Roll out.

    Roll the first disc on a lightly floured surface to about ⅛ inch thick.
    Transfer to a 9-inch pie dish. Add your filling or continue to the prebaking instructions below.


    When to Prebake (Blind Bake)

    Most pies do NOT need the crust baked ahead of time.
    Use the guide below to choose the right method:


    NO Prebake Needed

    Use a raw crust for:

    • Apple pie
    • Berry pies
    • Cherry, peach, rhubarb
    • Pumpkin pie
    • Pecan pie
    • Meat/vegetable pot pies

    Just fill the raw crust and bake according to your recipe.


    Partial Blind Bake (Quiche & Lightly-Baked Fillings)

    Needed for:

    • Quiche
    • Custard pies that bake at low heat
    • Some tarts

    How to Partial Bake:

    1. Chill rolled crust 10 minutes in freezer (prevents shrinking).
    2. Line with parchment + pie weights.
    3. Bake at 375°F (190°C) for 15 minutes.
    4. Remove weights.
    5. Bake 5 more minutes, until the bottom looks set but not browned.

    Full Blind Bake (Cream Pies & No-Bake Fillings)

    Needed for:

    • Banana cream
    • Chocolate cream
    • Coconut cream
    • French silk
    • Any pie where the crust must be fully cooked before filling

    How to Fully Blind Bake:

    1. Chill rolled crust 10 minutes.
    2. Line with parchment + pie weights.
    3. Bake at 375°F for 15 minutes.
    4. Remove weights.
    5. Bake 10–15 minutes more, until golden brown and crisp.

    Total time: about 25–30 minutes.


    Tips for Best Results

    • Keep ingredients cold for maximum flake.
    • If the dough softens while rolling, chill 10 minutes and resume.
    • For a glossy top crust, brush with an egg wash before baking (1 egg beaten with 1 tbsp milk).
    • Dough discs freeze well for up to 3 months.
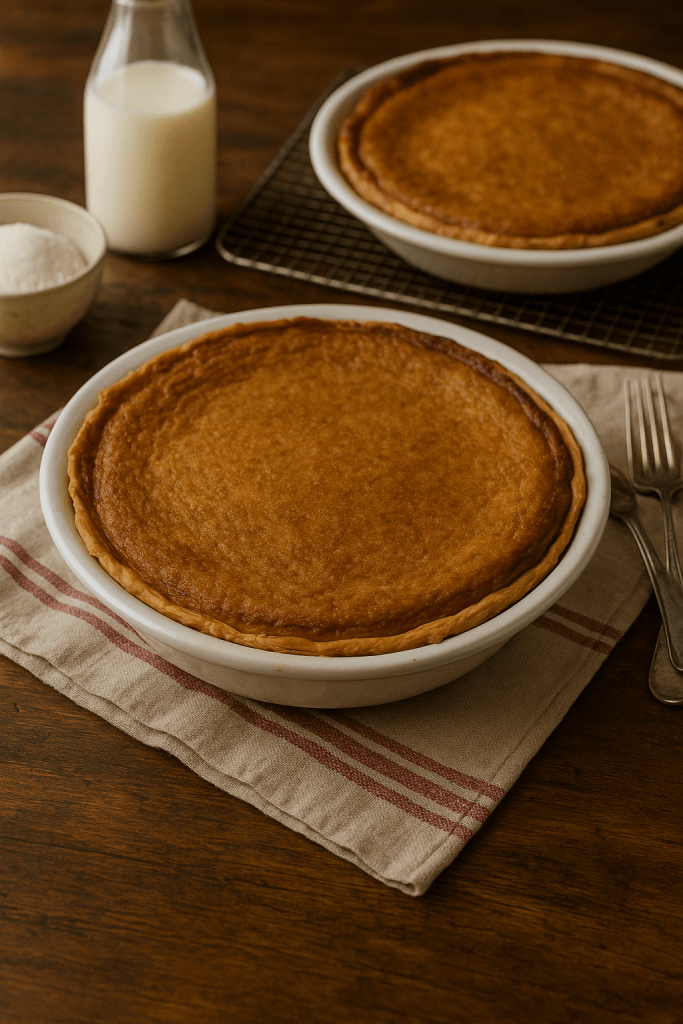
  • Buttermilk Chess Pie — Simple, Sweet, and Southern

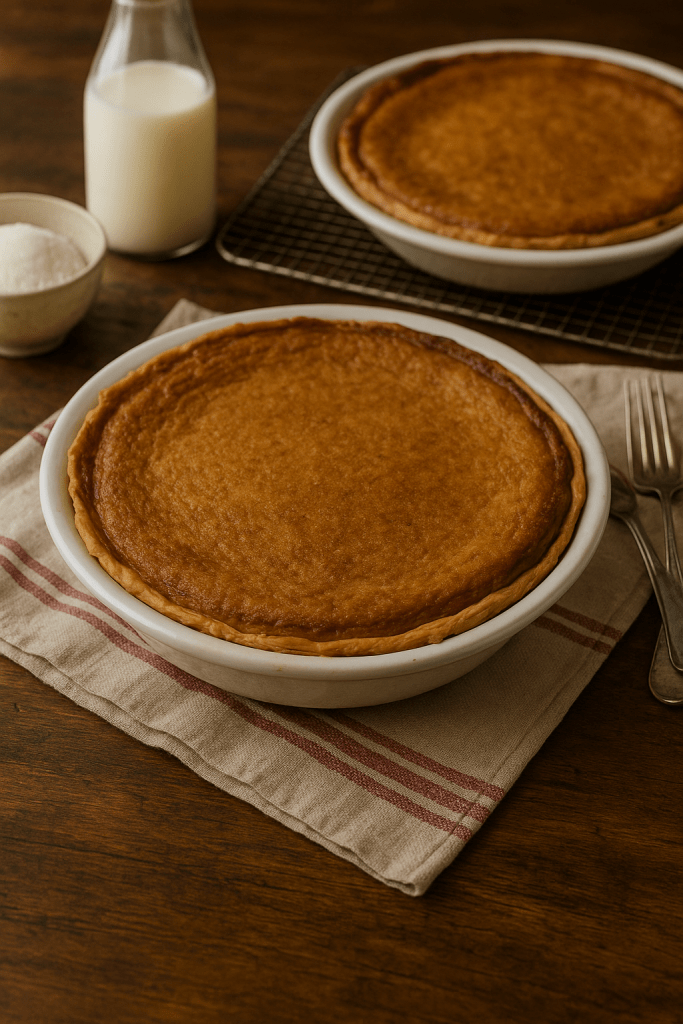
    There’s something comforting about the simplicity of an old-fashioned pie. This one, baked as a thank-you for our FedEx driver, quickly earned a place among our family favorites. It’s buttery, sweet, and smooth — the kind of dessert that tastes like home.

    a chess pie in a milk glass pie dish on a striped tea towel

    📜 Ingredients

    (Makes one 9-inch pie)

    • 1 unbaked 9-inch pie crust
    • 1 cup granulated sugar
    • ½ cup light brown sugar, packed
    • 2 tablespoons fine cornmeal (optional for a touch of tradition)
    • 1 tablespoon all-purpose flour
    • ¼ teaspoon salt
    • ½ cup (1 stick) unsalted butter, melted and slightly cooled
    • 4 large eggs
    • ½ cup buttermilk
    • 1 teaspoon vanilla extract

    👩‍🍳 Instructions

    1. Preheat the oven to 350°F (175°C).
      Place your unbaked crust in a 9-inch pie dish and crimp the edges.
    2. Mix dry ingredients.
      In a large bowl, whisk together the sugars, cornmeal, flour, and salt.
    3. Add butter and eggs.
      Stir in melted butter until smooth. Add eggs one at a time, whisking well after each.
    4. Finish the filling.
      Whisk in buttermilk and vanilla. The mixture will be thin — that’s normal for chess pie.
    5. Pour and bake.
      Pour filling into the crust. Bake 45–55 minutes, or until the center is just set and the top is golden with a delicate sugary crust.
      (If the crust browns too quickly, cover edges loosely with foil.)
    6. Cool completely.
      Let the pie rest at room temperature for at least 2 hours before slicing. It continues to set as it cools.

    🍴 Serving & Storage

    Serve at room temperature or slightly chilled.
    Store covered in the fridge up to 4 days.


    💡 Notes & Variations

    • No brown sugar? Use 1½ cups raw sugar (or 2¾ cups if doubling the recipe) and add a teaspoon of molasses for deeper flavor.
    • Lemon Chess Pie: Add zest and juice of one lemon.
    • Chocolate Chess Pie: Add 2 tablespoons unsweetened cocoa powder with the dry ingredients.
    • Maple Chess Pie: Swap ¼ cup sugar for maple syrup and reduce buttermilk slightly.

    ❤️ From Our Kitchen

    This pie started as a simple thank-you — a small way to show appreciation to someone who carries heavy boxes to our door year-round. But after one bite, Tim and I decided it won’t just be a thank-you pie anymore. It’s officially part of our family favorites list.

  • Classic Bread Stuffing

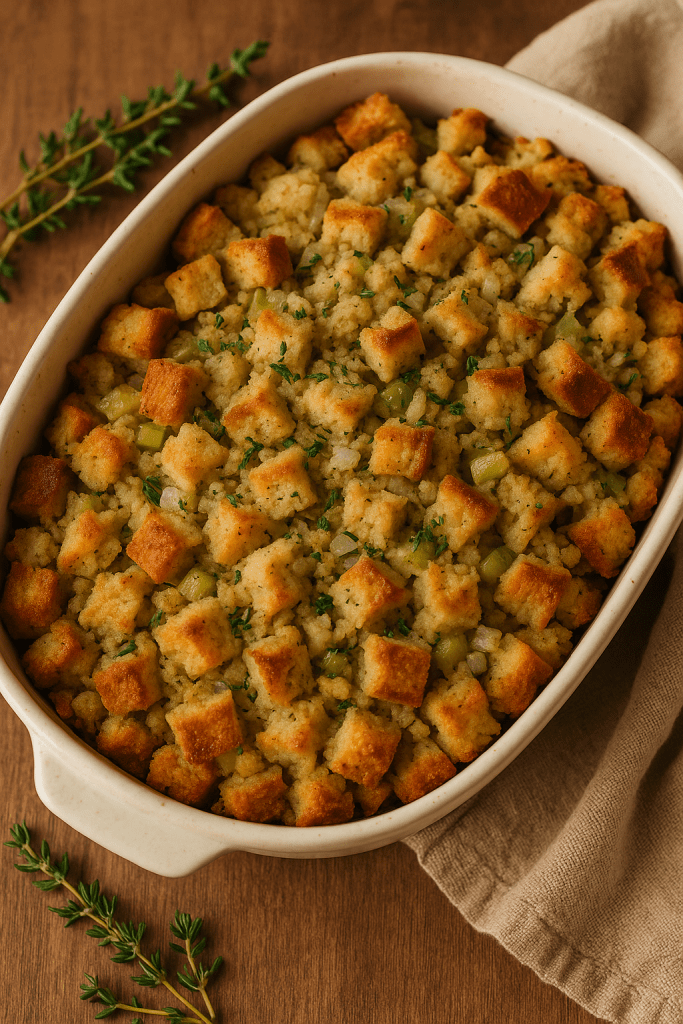
    Classic Bread Stuffing

    a casserole dish of bread stuffing

    Serves: 8–10 | Prep Time: 25 min | Bake Time: 35–40 min


    🧂 Ingredients

    • 12 cups cubed day-old bread (white, French, or country-style)
    • 1 cup (2 sticks) butter
    • 1 large onion, finely chopped
    • 3–4 celery stalks, chopped
    • 2 tsp salt
    • 1 tsp black pepper
    • 1½ tsp dried sage
    • 1 tsp dried thyme
    • 1 tsp dried parsley
    • 2½–3 cups chicken or turkey broth (depending on how moist you like it)
    • 2 large eggs, beaten

    🔪 Instructions

    1. Prep the bread.
      Cut bread into cubes and let it dry overnight, or toast on baking sheets at 300°F for 15–20 minutes until lightly crisp.
    2. Cook the vegetables.
      In a large skillet, melt butter over medium heat. Add onion and celery; cook until soft and fragrant, about 8–10 minutes.
    3. Combine.
      In a large bowl, toss bread cubes with the cooked vegetables, salt, pepper, and herbs.
    4. Add broth and eggs.
      Pour in broth and beaten eggs, gently stirring until evenly moistened.
    5. Bake.
      Spoon into a greased 9×13 baking dish and bake uncovered at 350°F for 35–40 minutes, until golden and crisp on top but tender inside.

    💡 Tips

    • For extra flavor, use part chicken broth and part pan drippings from your turkey.
    • Want it heartier? Add ½ pound browned sausage or diced apples for a festive twist.
    • If you prefer softer stuffing, cover loosely with foil for the first 25 minutes.

    🕯️ Bringing Life Note

    This is the stuffing that smells like the holidays — buttery, savory, and comforting in the best possible way. It’s the perfect partner for roasted turkey, gravy, and every cozy family meal that comes with them.

  • Classic Cornbread Stuffing

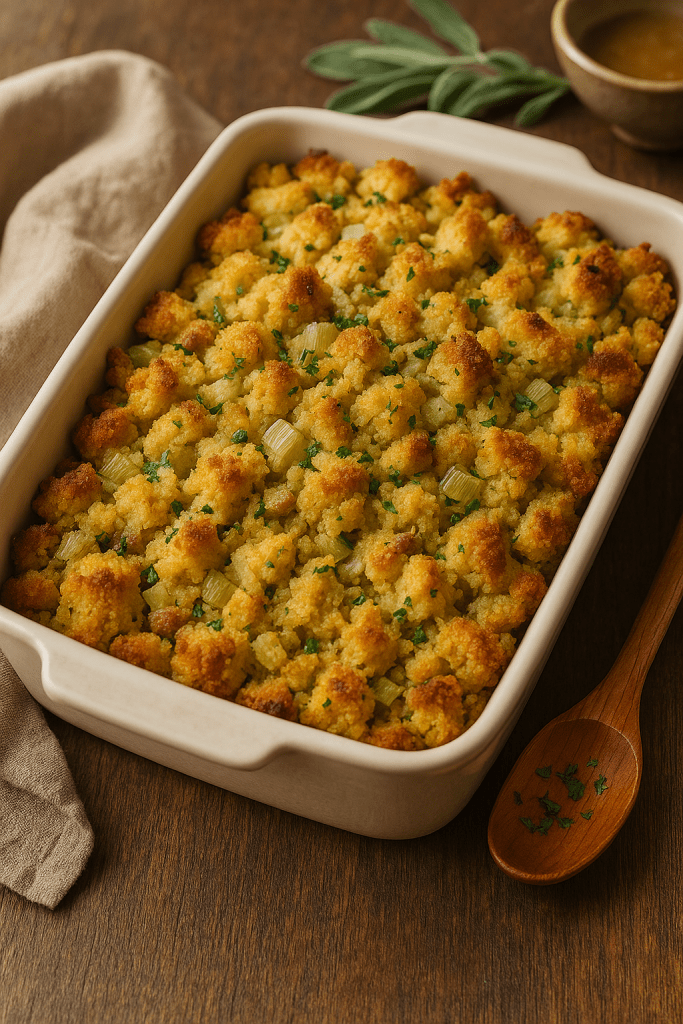
    Classic Cornbread Stuffing

    a casserole dish of cornbread stuffing

    Serves: 8–10 | Prep Time: 20 min | Bake Time: 35–40 min


    🧂 Ingredients

    • 8 cups day-old cornbread, cubed (about one 9×13 pan)
    • 1 medium onion, finely chopped
    • 3 celery stalks, chopped
    • ½ cup (1 stick) butter
    • 1 tsp salt
    • ½ tsp black pepper
    • 1½ tsp dried sage
    • 1 tsp dried thyme
    • 1 tsp dried parsley
    • 2 cups chicken or turkey broth (more if you like it moister)
    • 2 large eggs, beaten

    🔪 Instructions

    1. Prep the cornbread.
      Cut your cornbread into cubes and let it dry overnight, or toast it in a 300°F oven for 15–20 minutes until lightly crisp.
    2. Sauté the vegetables.
      In a large skillet, melt butter over medium heat. Add onion and celery; cook until soft and fragrant, about 8–10 minutes.
    3. Combine.
      In a large bowl, gently toss cornbread with cooked vegetables, salt, pepper, and herbs.
    4. Add liquids.
      Pour in broth and beaten eggs, stirring gently until evenly moistened but not soggy.
    5. Bake.
      Transfer to a greased 9×13 baking dish. Bake uncovered at 350°F for 35–40 minutes, until the top is golden and slightly crisp.

    💡 Tips

    • Use homemade cornbread for best texture (not sweet or cakey).
    • For a heartier version, add ½ pound of cooked sausage or diced apples and cranberries.
    • If you like softer stuffing, cover it loosely with foil for the first 25 minutes.

    🕯️ Bringing Life Note

    Cornbread stuffing tastes like home — buttery edges, savory herbs, and that golden top that smells like Thanksgiving. Simple ingredients, no shortcuts, just good food the way it’s meant to be shared.

  • Best Ham Glaze Recipe

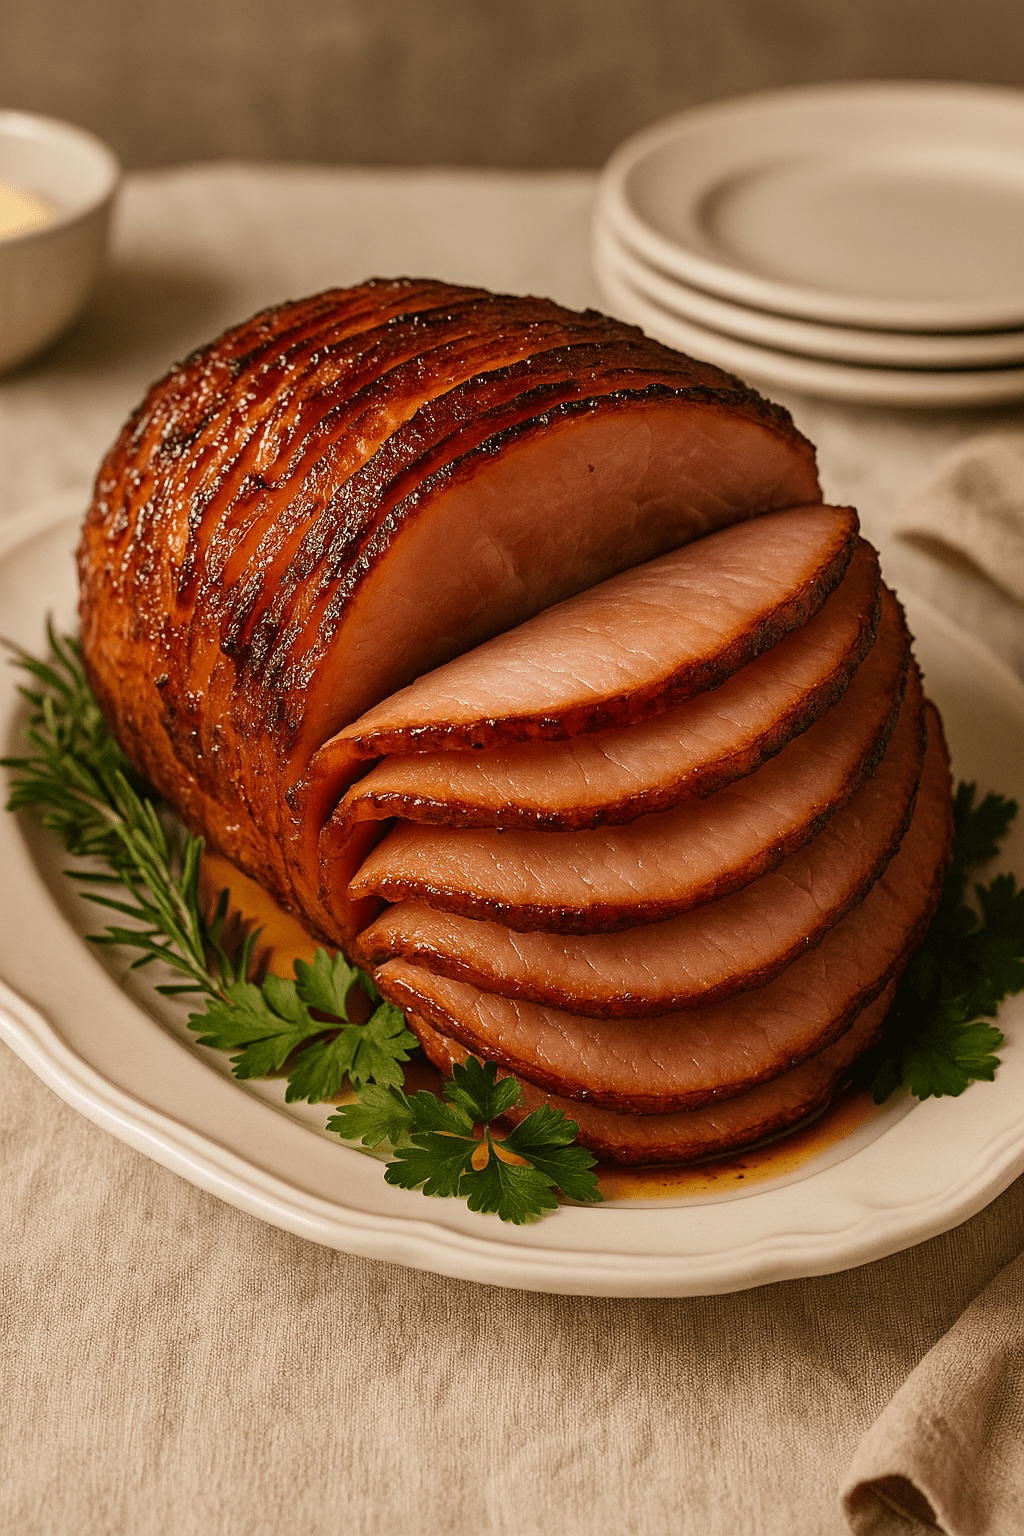
    Best Ham Glaze Recipe

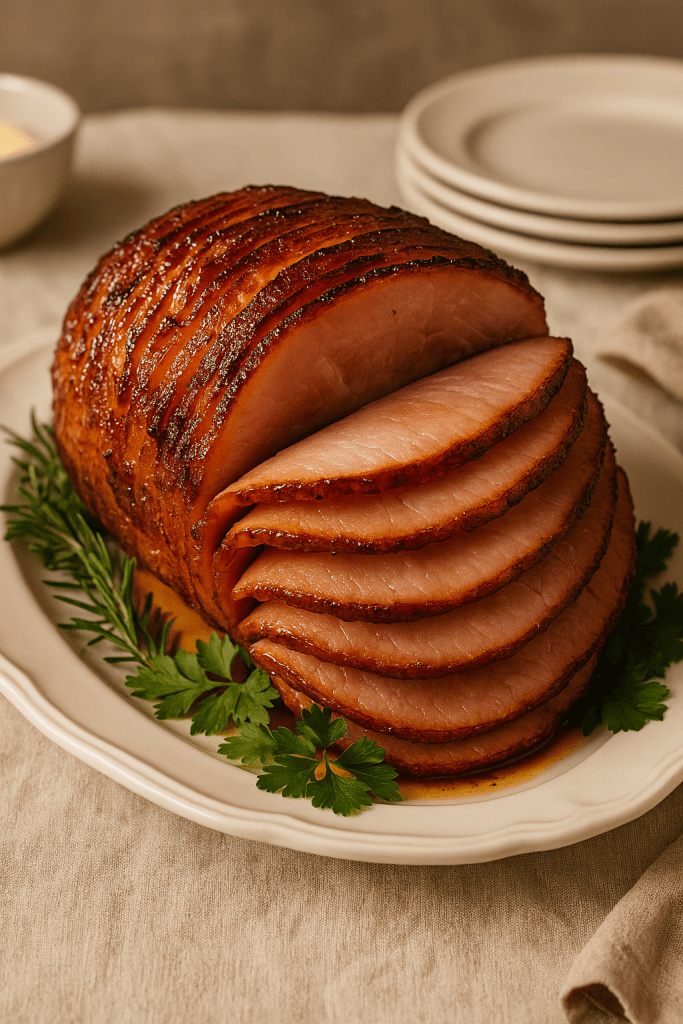
    a sliced ham on a platter with herbs

    Prep Time: 10 min | Cook Time: 10–15 min | Makes: Enough for 1 large ham

    🧂 Ingredients

    • 1 cup brown sugar (light or dark)
    • ¼ cup honey
    • ¼ cup orange juice (or pineapple juice)
    • 2 Tbsp Dijon mustard
    • 1 Tbsp apple cider vinegar
    • ½ tsp ground cloves
    • ½ tsp cinnamon
    • ¼ tsp black pepper

    🔪 Directions

    1. Combine ingredients.
      In a small saucepan, whisk together all ingredients.
    2. Simmer.
      Cook over medium heat until the sugar dissolves and the glaze thickens slightly, about 10–15 minutes. Stir often to prevent burning.
    3. Glaze the ham.
      Brush half the glaze over your ham before baking. During the last 20 minutes of baking, brush with the remaining glaze every 5–7 minutes for that glossy, caramelized finish.
    4. Optional:
      Add 1–2 tablespoons of the pan drippings to the leftover glaze for extra flavor before serving.

    💡 Tips

    • If you prefer a lighter flavor, replace honey with maple syrup.
    • For a deeper glaze, use dark brown sugar and orange zest.
    • Works beautifully on spiral-cut, bone-in, or boneless hams.

    🕯️ Recipe Note

    There’s something special about that golden, sticky glaze bubbling in the oven — the smell alone feels like the holidays. Keep it simple, keep it sweet, and you’ll have a ham that shines as bright as your table.

  • Crisp and Juicy Roast Turkey

    Crisp and Juicy Roast Turkey

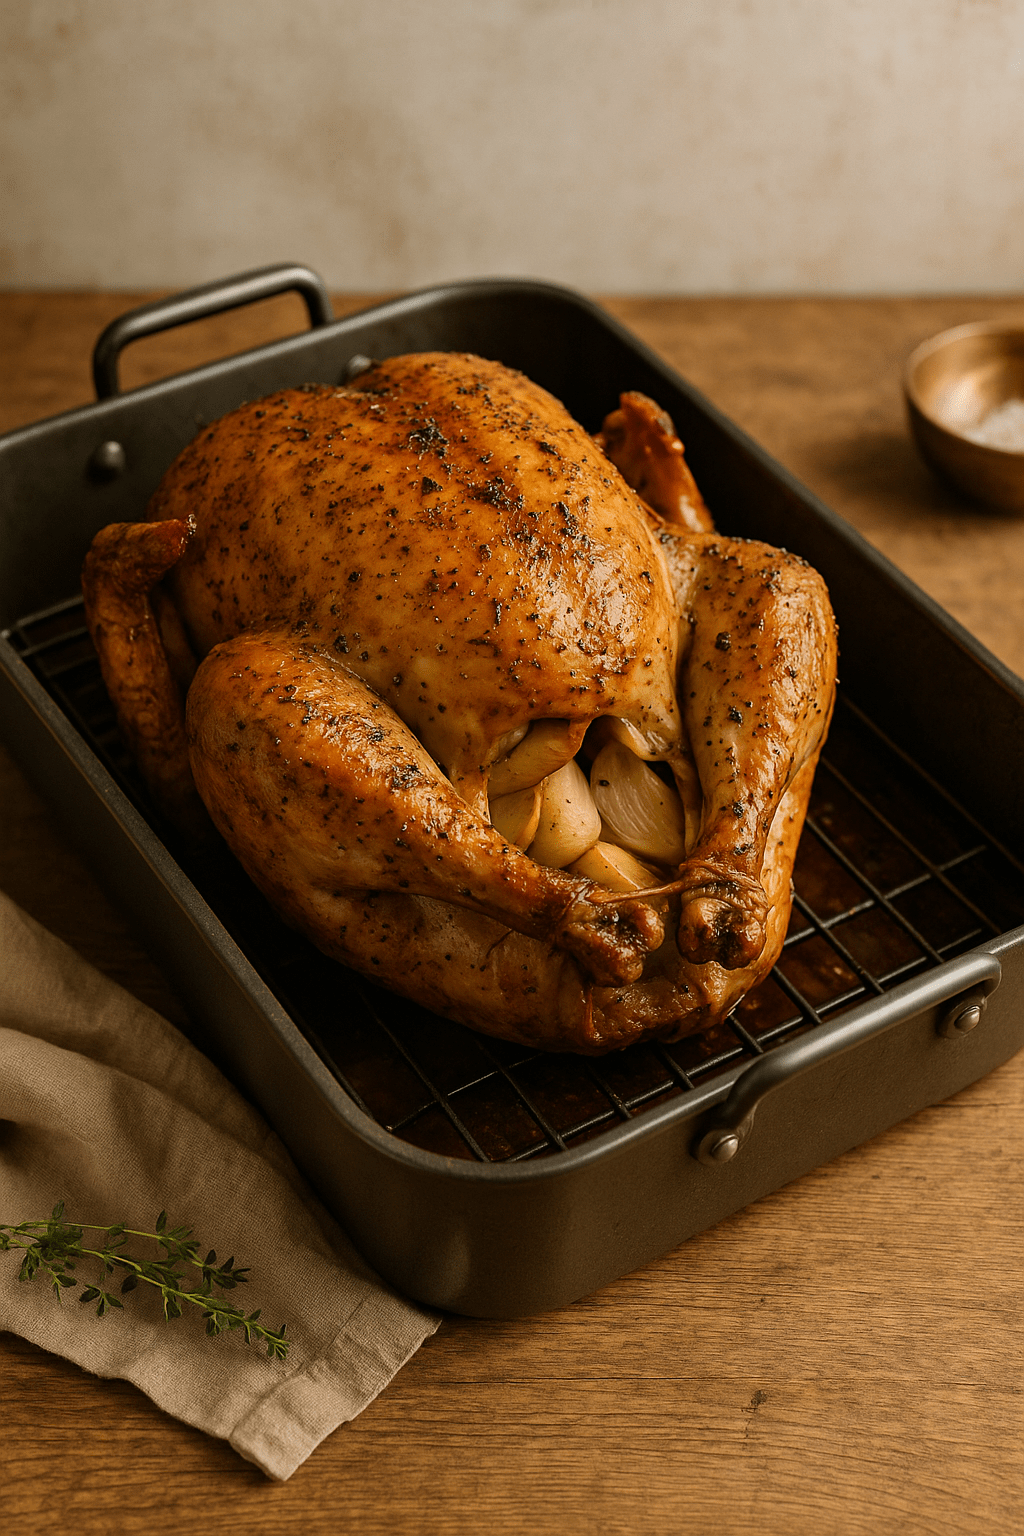
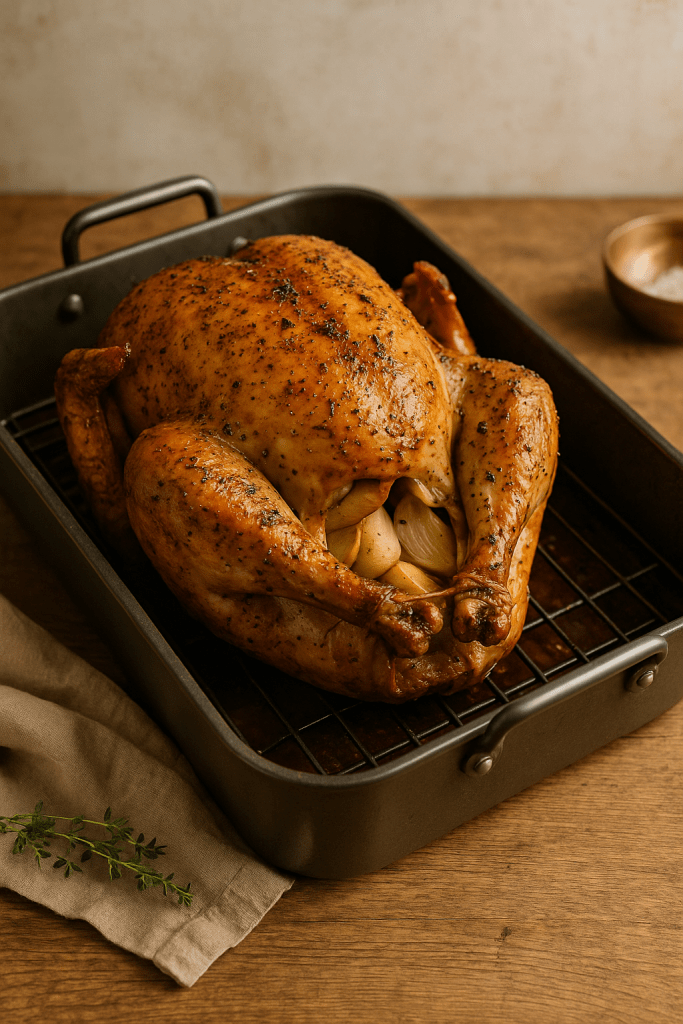
    a generated image of a roasted turkey sitting on a rack in a roaster pan

    Thanksgiving is right around the corner! That means it’s time to get ready to cook that amazing turkey you’re hoping isn’t as disappointing as last year’s.

    If you’re looking for the traditional Thanksgiving turkey — the one you have to chew 124 times and drown in two quarts of gravy just to make it tolerable — this isn’t the recipe for you.

    BUT… if you want the juiciest, most amazing, crispy-skinned, mouthwatering turkey you can imagine, crank up the heat on that oven and slide the big bird in for a shorter, hotter trip to the table than it had last year!

    Serves: 10–12 | Prep: 20 min | Cook: 2½–3 hrs | Rest: 30 min

    🧂 Ingredients

    • 1 whole turkey (12–14 lb), thawed
    • ½ cup salted butter, softened
    • 1 Tbsp olive oil
    • 1 Tbsp salt
    • 1 tsp black pepper
    • 1 tsp paprika
    • 1 tsp garlic powder
    • 1 tsp onion powder
    • 1 tsp dried thyme (or 2 tsp fresh)
    • 1 tsp dried rosemary (or 2 tsp fresh)
    • 1 tsp dried sage (or 2 tsp fresh)
    • 1 onion, quartered
    • 1 lemon, quartered
    • 1 head of garlic, halved crosswise

    🔪 Directions

    1. Prep the bird.
      Remove giblets and neck; pat dry thoroughly. Tuck the wing tips behind the shoulders.
    2. Season.
      Mix butter, olive oil, salt, pepper, and seasonings.
      Rub about half under the skin and the rest over the outside.
    3. Fill the cavity.
      Add onion, lemon, and garlic for aroma (no heavy stuffing—it slows cooking).
    4. Roast hot.
      • Place on a rack in a large roasting pan with 1 cup broth or water in the bottom.
      • Roast at 425 °F for 40 minutes to brown and crisp the skin.
      • Without opening the door, reduce heat to 350 °F and continue roasting about 10–12 minutes per pound, until a thermometer in the thickest part of the thigh registers 165 °F.
      • If skin darkens too fast, tent loosely with foil.
    5. Rest.
      Transfer to a board, cover loosely, and rest 30 minutes before carving.

    💡 Tips

    • For extra moisture, brush once or twice with drippings during the lower-temp phase.
    • Don’t skip the rest period—it’s the secret to juicy slices.
    • Use leftover bones for rich broth later.

  • Homemade Yogurt from Scratch

    Homemade Yogurt from Scratch

    Why Make Yogurt at Home?

    Homemade yogurt isn’t just about saving money—it’s about freshness, control, and nutrition. When you make it yourself:

    • Cost savings: A single gallon of milk can yield 8 cups of yogurt for less than store-bought tubs.
    • Customization: You choose the milk type (whole, skim, goat, raw, organic, etc.), thickness (Greek-style or regular), and flavors.
    • Fewer additives: No thickeners, stabilizers, or hidden sugars—just milk and live cultures.
    • Sustainability: Making yogurt at home cuts down on packaging waste.

    How Yogurt Works: The Science Behind It

    Yogurt is created by fermenting milk with beneficial bacteria. The two classic starter strains are:

    • Lactobacillus bulgaricus
    • Streptococcus thermophilus

    Together, they convert lactose (milk sugar) into lactic acid. This acid lowers the pH, thickening the milk proteins and giving yogurt its tangy flavor. Many store-bought starters also include additional strains like Lactobacillus acidophilus or Bifidobacterium lactis, which may aid digestion.

    The fermentation process not only preserves milk but also boosts probiotic content, supporting gut health.

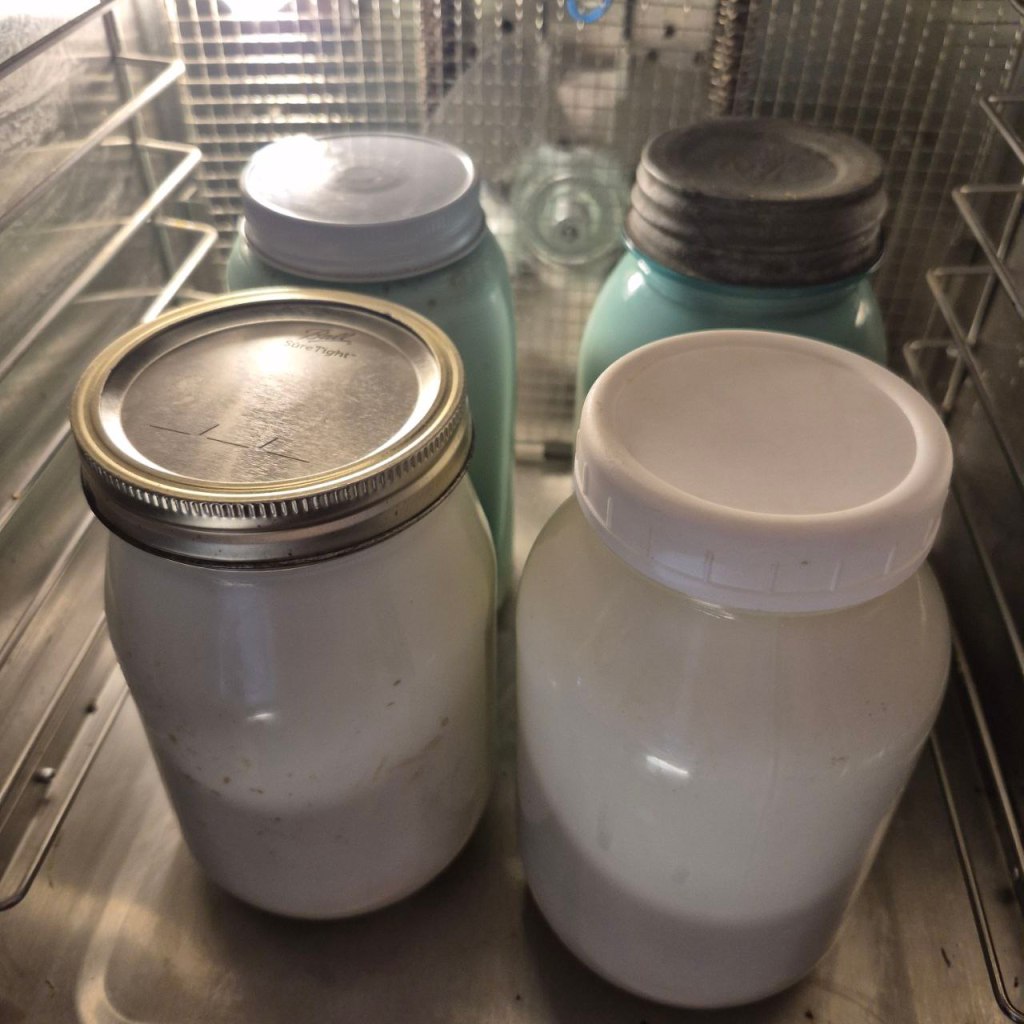
    four quart jars of homemade yogurt in a dehydrator

    Ingredients

    • 1 quart (4 cups) milk – whole milk makes creamier yogurt, but any type works
    • 2 tablespoons plain yogurt with live, active cultures (store-bought or from a previous batch)

    Equipment

    • Saucepan
    • Thermometer (optional but helpful)
    • Whisk
    • Clean glass jar or container with lid
    • Towel or blanket for insulation

    Step-by-Step Instructions

    1. Heat the milk
      Pour milk into a saucepan and gently heat to 180°F (82°C). This denatures proteins so the yogurt sets thicker.
    2. Cool the milk
      Remove from heat and let it cool to 110°F–115°F (43–46°C). This is the ideal range for the cultures.
    3. Add starter
      Whisk 2 tablespoons of yogurt into a small bowl with a bit of the cooled milk. Then stir this mixture back into the pot.
    4. Incubate
      Pour into a clean jar, cover, and keep warm (around 110°F) for 6–12 hours.
      • For thinner, milder yogurt: check at 6 hours.
      • For thicker, tangier yogurt: let it go longer.
        You can wrap the jar in a towel, place it in an oven with the light on, use an Instant Pot’s yogurt setting, or a dehydrator set to 110°F.
    5. Chill and enjoy
      Once it’s set, refrigerate for at least 2 hours. The yogurt will thicken further as it cools.

    Variations

    • Greek Yogurt: Strain finished yogurt through a cheesecloth or coffee filter for 2–4 hours to remove whey.
    • Flavored Yogurt: Stir in honey, fruit purée, vanilla, or jam just before eating.

    Storage

    Homemade yogurt keeps for about 2 weeks in the refrigerator. Save 2–3 tablespoons from each batch to use as the starter for the next one.

    If you would like a video on the process, check out this one on our YouTube channel!

  • Deer Bone Broth

    Deer Bone Broth

    Bone broth is one of the most nutrient-dense foods you can preserve for your pantry shelves. When made with venison bones, it brings a deep flavor and is full of collagen, minerals, and marrow. Pressure canning makes it shelf-stable and ready to use anytime for soups, gravies, or sipping on its own.

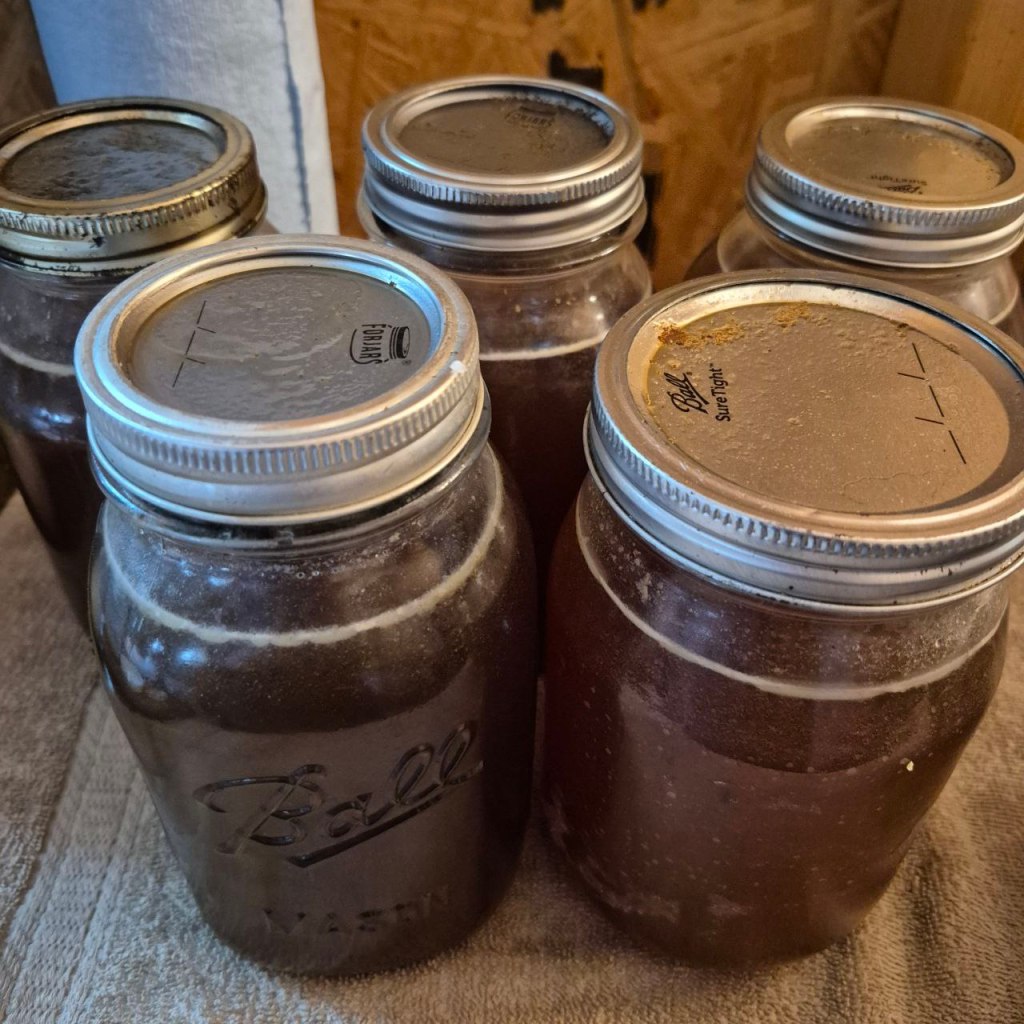
    5 quart jars of home-canned deer bone broth sitting on a towel on a counter

    This is not a recipe that has to be followed exactly, but simply what we did this time. Last time was different and next time will probably be different again. We ended up with enough broth to can 7 quarts, but obviously that depends on the amount of bones you start with and how strong you want it.

    Ingredients

    • Deer bones, cut into smaller pieces (helps release marrow and collagen)
    • Water (enough to cover bones in stockpot, refill as needed)
    • 1–2 garlic cloves
    • 1 onion, quartered
    • A handful of carrot tops
    • A handful of radish tops
    • Fresh rosemary sprigs
    • Salt, to taste
    • A splash of vinegar (helps pull nutrients and minerals from the bones)

    Instructions

    Step 1: Prepare the Broth

    1. Place cut deer bones in a large stockpot.
    2. Add garlic, onion, carrot, radish tops, rosemary, salt, and vinegar.
    3. Cover with water.
    4. Bring to a boil, then reduce to a simmer. Let it cook long enough for the bones to release nutrients and flavor (at least 24 hours is ideal).

    Step 2: Strain and Fill Jars

    1. Strain broth through a fine strainer or cheesecloth to remove solids.
    2. Ladle hot broth into clean, hot quart jars, leaving 1 inch headspace.

    Step 3: Pressure Can

    1. Wipe rims, apply lids and bands.
    2. Place jars in pressure canner with 2–3 inches of simmering water. A splash of vinegar in the canner keeps hard water stains from forming.
    3. Process at 10 pounds pressure (adjust for altitude if needed):
      • Quarts: 25 minutes
      • If you don’t have enough jars of broth to fill the canner, put some jars of water in to keep everything from rattling around.

    Step 4: Cool and Store

    1. Allow canner to depressurize naturally.
    2. Remove jars and let them cool 24 hours without touching.
    3. Check seals before storing. Keep in a cool, dark place.

    Using Your Deer Bone Broth

    This broth is versatile—use it as a base for venison stew, wild rice soup, or simply heat it with a little extra seasoning, if needed, and sip it warm.

    Homestead Hilarity

    Micah, age 9 — A self proclaimed “hilly-billy”.

  • Trust And Obey

    Trust And Obey

    Lately, God has been talking to me on the theme of trust. Trust is something that doesn’t come easily for me, so this is lesson I need to learn. I’m not sure where God is leading next, but I do know I want to keep my hand in His and simply follow.

    When we walk with the Lord in the light of His Word
    What a glory He sheds on our way!
    While we do His good will, He abides with us still
    And with all who will trust and obey

    Trust and obey, for there’s no other way
    To be happy in Jesus, but to trust and obey.

    Not a shadow can rise, not a cloud in the skies
    But His smile quickly drives it away
    Not a doubt or a fear, not a sigh or a tear
    Can abide while we trust and obey

    Trust and obey, for there’s no other way
    To be happy in Jesus, but to trust and obey

    Then in fellowship sweet we will sit at His feet
    Or we’ll walk by His side in the way
    What He says we will do, where He sends we will go
    Never fear, only trust and obey

    Trust and obey, for there’s no other way
    To be happy in Jesus, but to trust and obey

  • Pumpkin Spice Streusel Muffins

    Pumpkin Spice Streusel Muffins

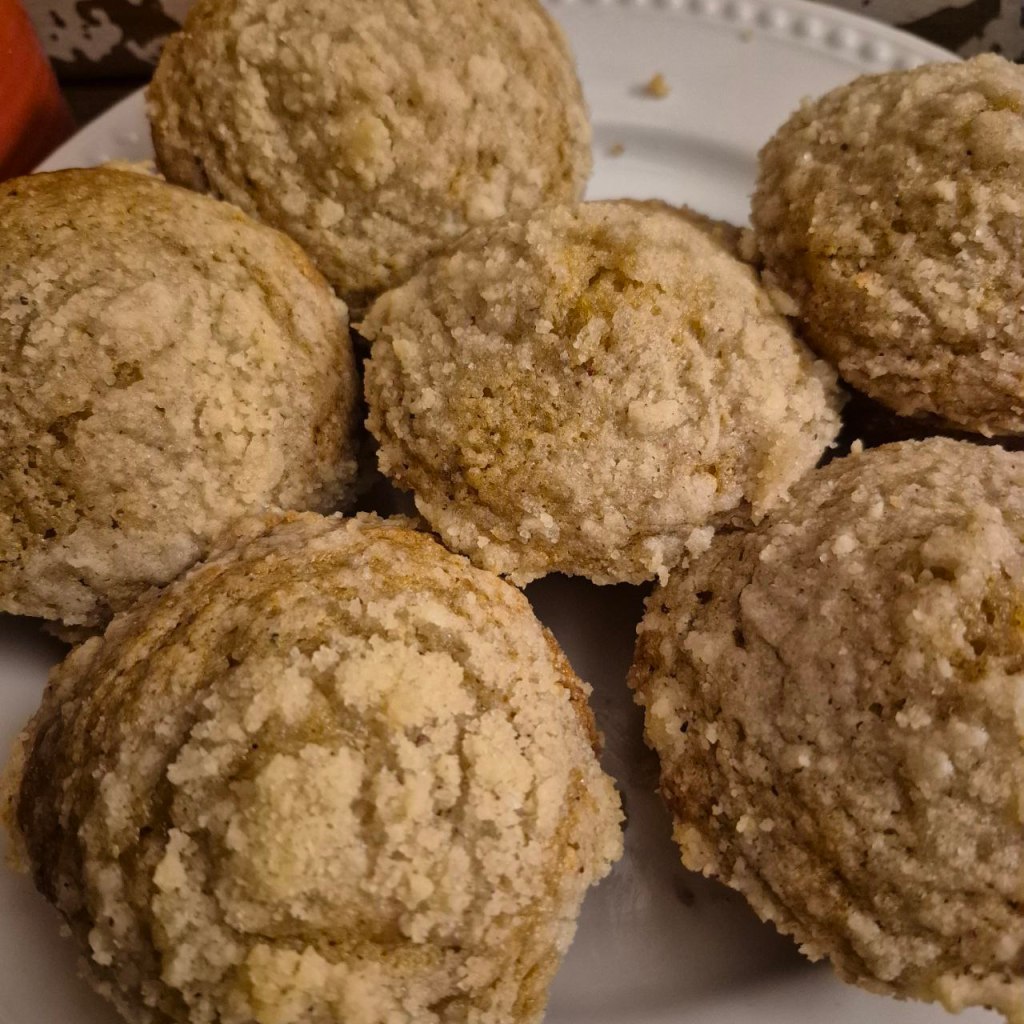
    A plate of pumpkin spice muffins with streusel topping with mug of coffee,  three whole nutmeg,  and a plaque that says "Then sings my soul".

    Maybe the cool weather is getting to me. Maybe I like pumpkin spice more than I thought. Whichever is the case, here’s a recipe I had to share. These muffins turned out so delicious I couldn’t keep them to myself.

    Pumpkin Spice Muffins (24 muffins)

    Ingredients

    Dry:

    • 3 ½ cups all-purpose flour
    • 2 tsp baking soda
    • 2 tsp baking powder
    • 1 tsp salt
    • 2 tsp cinnamon
    • 2 tsp nutmeg
    • 1/2 tsp ground ginger
    • 1/2 tsp ground cloves

    Wet:

    • 2 cups canned pumpkin purée (NOT pumpkin pie filling)
    • 1 cup granulated sugar
    • 1 cup brown sugar, packed
    • 1 cup sour cream
    • 1 cup melted butter
    • 4 large eggs
    • 2 tsp vanilla extract

    Streusel Topping

    • 1 cup all-purpose flour
    • ¾ cup granulated sugar (or half brown sugar, half white for deeper flavor)
    • 1 tsp cinnamon
    • ½ tsp nutmeg
    • ½ cup cold unsalted butter, cubed

    Instructions

    1. Preheat oven to 350°F (175°C). Line 24 muffin cups with paper liners (or grease).
    2. Make the streusel:
      In a bowl, whisk flour, sugar, and spices. Cut in butter with a pastry cutter or your fingers until mixture looks like coarse crumbs. Chill while you prepare the batter.
    3. Mix dry ingredients:
      In a large bowl, whisk flour, baking soda, baking powder, salt, and spices.
    4. Mix wet ingredients:
      In another large bowl, whisk together pumpkin, both sugars, sour cream, oil, eggs, and vanilla until smooth.
    5. Combine:
      Add dry ingredients to wet and stir just until combined (don’t overmix).
    6. Fill muffin tins:
      Divide batter evenly among 24 cups (about ⅔ full).
    7. Top:
      Sprinkle each muffin generously with streusel.
    8. Bake:
      Bake 20–24 minutes, until a toothpick inserted in the center comes out clean.
    9. Cool slightly before serving.

    These muffins are great the next day as well.