Tag: buttermilk

  • Homemade Herb Bread

    Homemade Herb Bread

    I love making bread. There’s nothing quite like the look of bread dough rising or the smell of it coming out of the oven or the taste of hot buttered slice fresh off the loaf.

    I’ve experimented with several different varieties of bread. From oat bread to seedy bread to whole wheat bread. I found out I like them all.

    This recipe, however, is one I use when I feel like making some extra special bread. It takes extra time and effort, but it is worth every minute. Believe me!

    This recipe is all my own, so if there is anything wrong with it, I have no one to blame but me. Thankfully, I know of nothing wrong with it. 🙂

    Anyway, on to the details of the bread. There are several things that make this bread unique.

    • Buttermilk. I replaced the typical water with warm buttermilk, and it really takes this loaf up a notch. Super soft and moist.
    • Fresh herbs. You might be able to use dry herbs in place of fresh, but I’ve never tried it and don’t think it would work quite as well. I have used several different blends of herbs and they were all good. Rosemary, thyme, and parsley is a delicious combo. Chop them fairly small and discard the tough stems.
    • Cheddar Cheese. While not an absolute necessity, it does add a nice flavor. It’s also delicious without it, but I’ll give the recipe with cheese included. Other kinds of cheese would probably be good as well.
    a cutting board with sprigs of fresh rosemary and thyme and an onyx mortar and pestle sitting near the cutting board

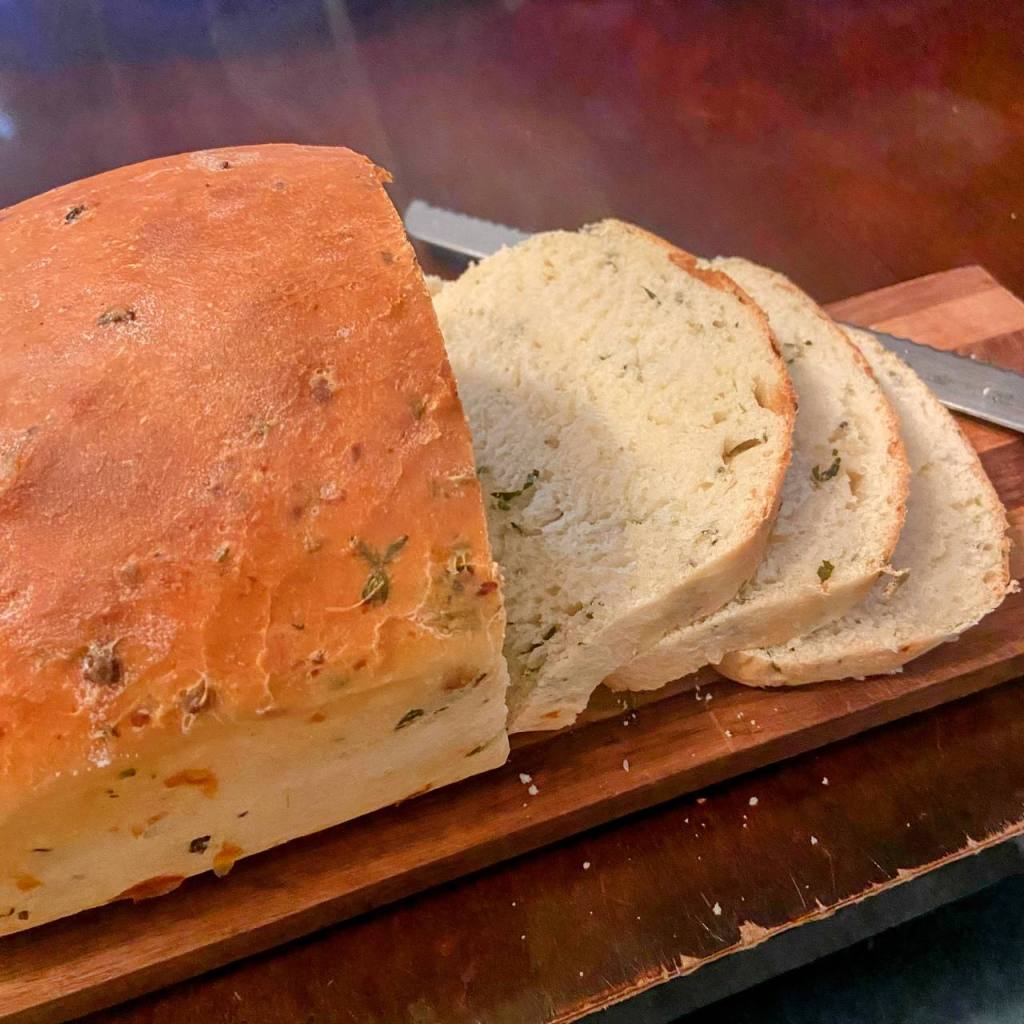
    Homemade Herb Cheese Bread


    Ingredients

    2 c Warm Buttermilk

    2 T Sugar

    2 t Yeast

    2 t Salt

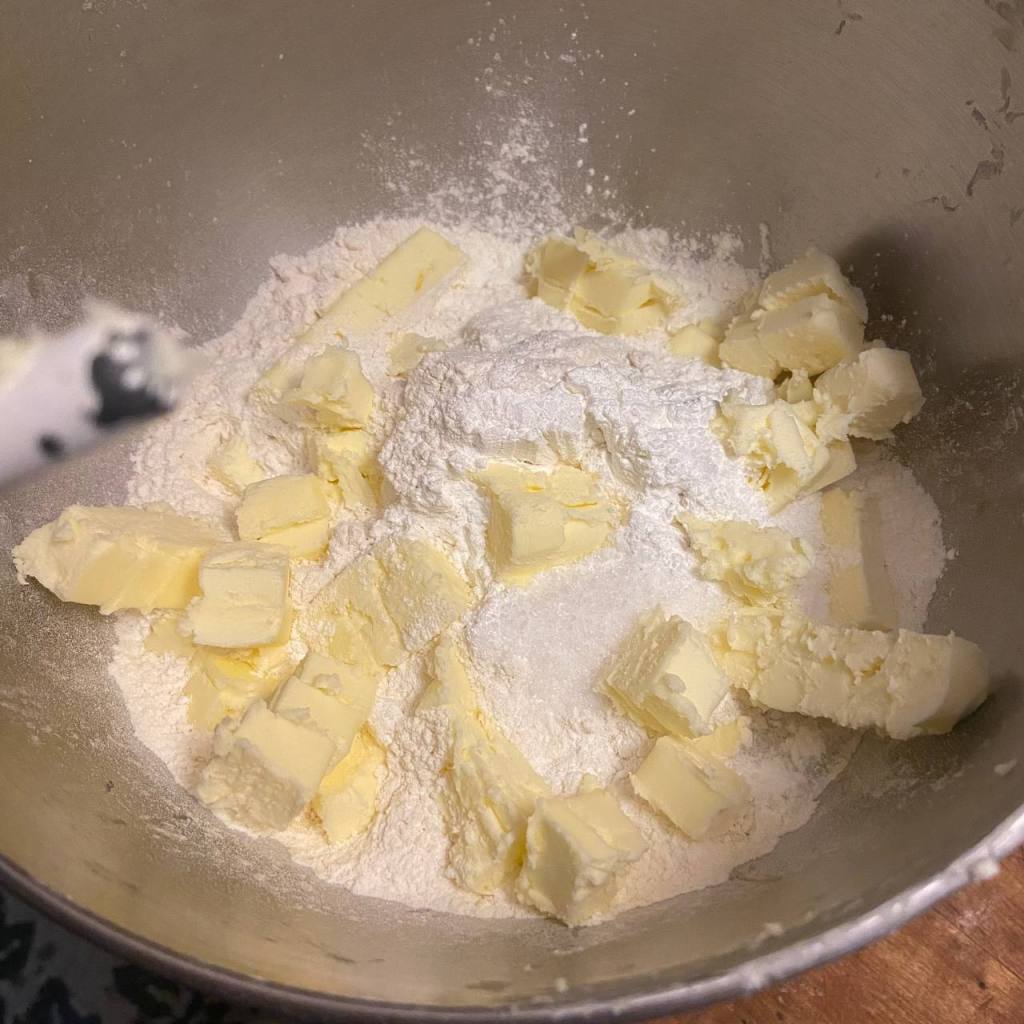
    1/4 c Oil (or melted butter or lard)

    4.5-5 c Flour

    1/2 c Fresh Herbs, chopped

    1/2 c Cheddar Cheese, grated

    a wooden cutting board with a large knife and chopped fresh parsley leaves

    Instructions

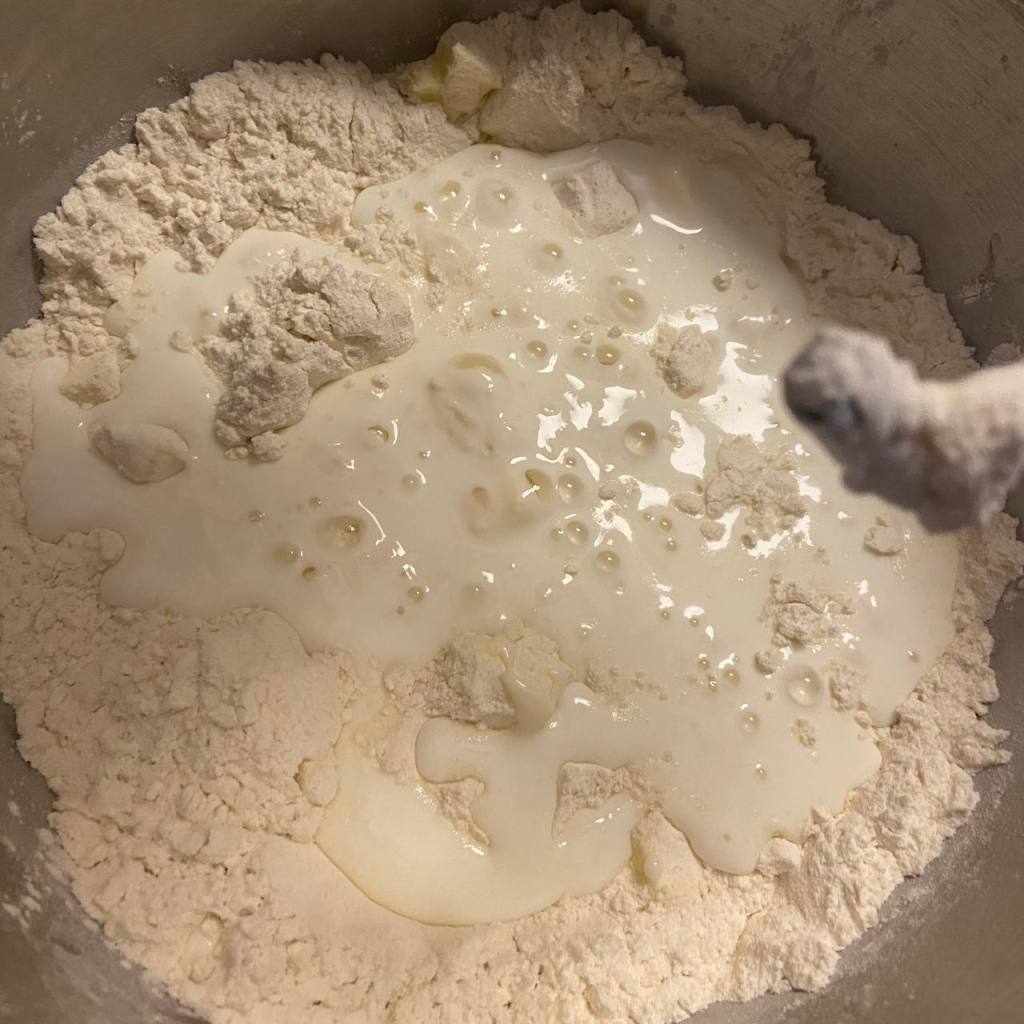
    • Put warm buttermilk, sugar, and yeast in bowl of stand mixer. If you’re using active yeast, let it bloom for 5-10 minutes until foamy. If you’re using instant yeast, blooming is not needed.
    • Stir to make sure sugar and yeast are mixed in and not stuck on the bottom.
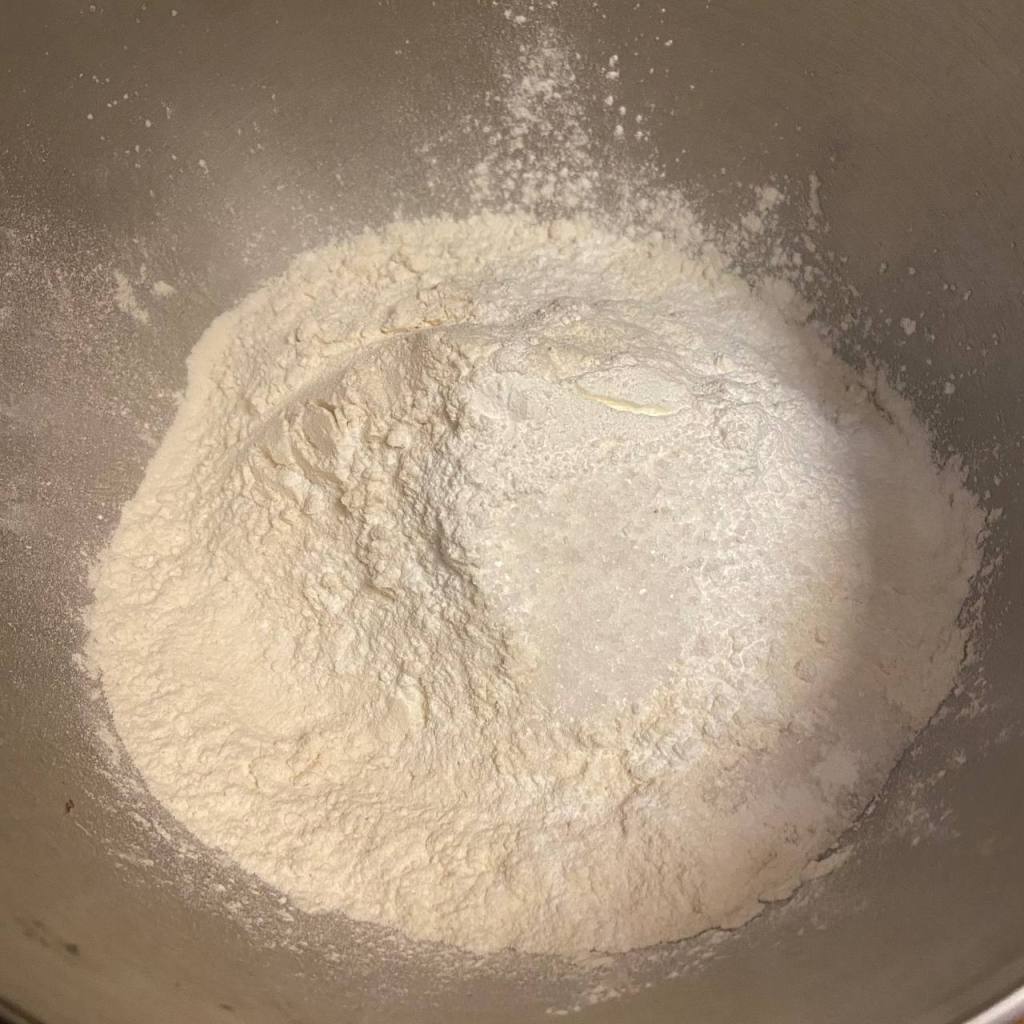
    • Add the salt, oil of choice, and flour.
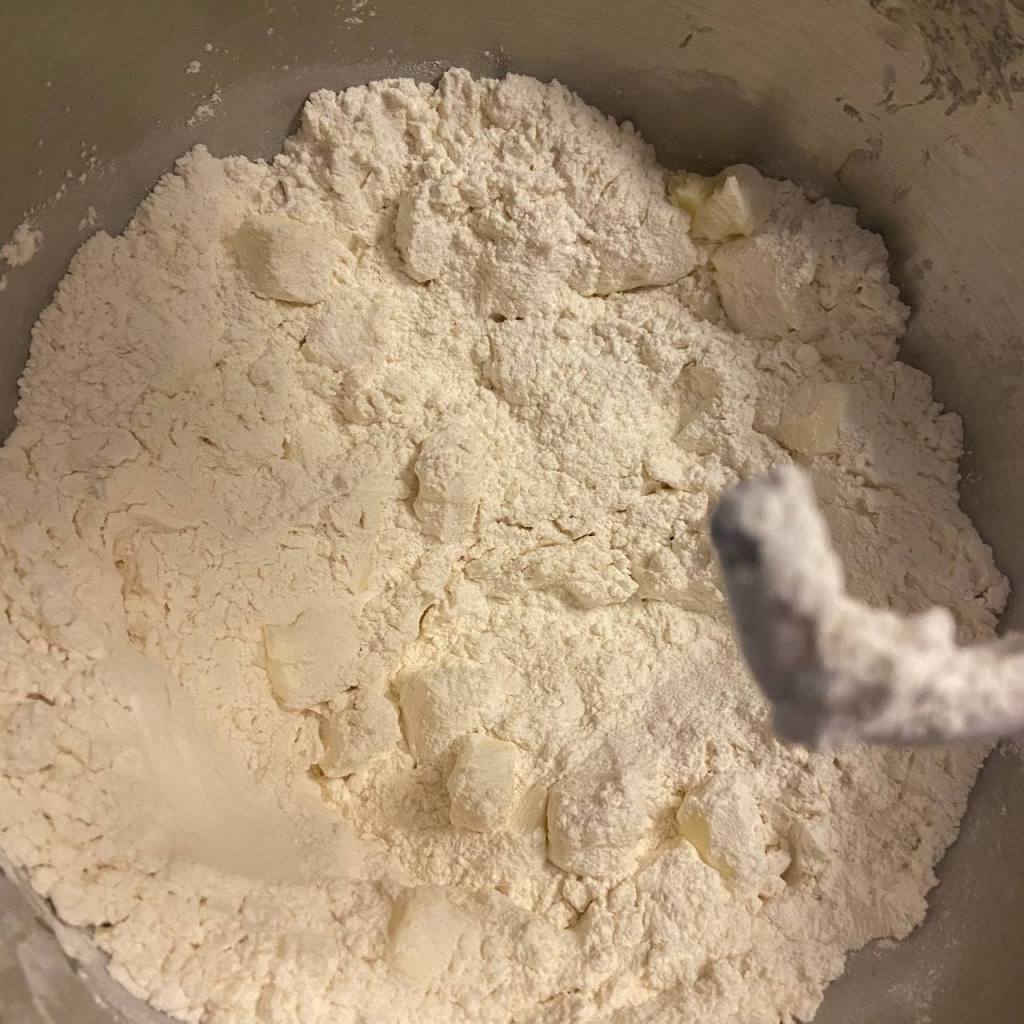
    • Mix until flour is mostly incorporated then add chopped herbs and shredded cheese.
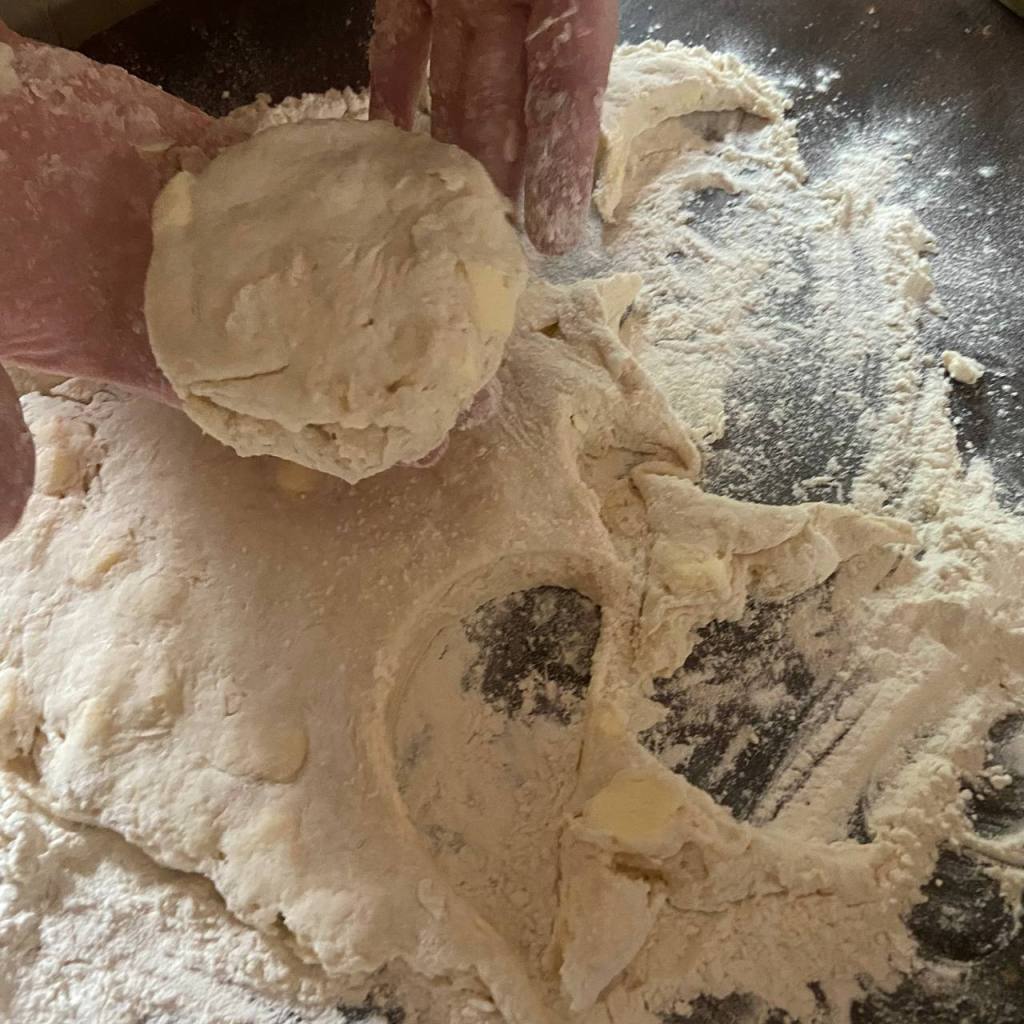
    • Continue to knead until everything is well mixed and the dough is pulling away from the sides of the bowl. Add more flour if needed.
    • Keep mixing for at least 5 minutes. I’ve found that the longer you knead the dough, the softer the bread is. If the dough stays really soft and sticky and you don’t want to add more flour, it should still work. I’ve had it happen to me lots of times, especially in warm or humid weather, and the bread turns out great. You just have to kinda pour the dough into the bowl and then the loaf pans instead of forming it.
    • Transfer the dough into a large, greased bowl, cover, and let rise until doubled. About 1-1.5 hours.
    • Form dough into a loaf, or two if it rose enough, and place in a greased 9×5 bread pan. Cover and let rise until the center is about 1-2 inches above the edge of the pan. I usually turn the oven on to preheat and let the pans sit on top the stove to cut down the rise time.
    • Preheat oven to 375 degrees
    • Bake at 375 degrees for 15 minutes, then without taking the bread out, turn the oven down to 350 degrees and bake another 20 minutes or until the bread is golden brown and sounds hollow when tapped.
    • Try to let it cool before you blister your fingers to get it out of the pans and sample it. If you’re like me and mine, you’ll endure the pain just to get a fresh, hot slice with butter. 🙂
    • Serve warm with stew or baked chicken or cool as a delicious sandwich base. Whatever you do, make sure you enjoy it!
    a loaf of freshly baked herb and cheese bread sitting partially sliced and still steaming

  • Best Buttermilk Biscuits

    Best Buttermilk Biscuits

    Hello again!

    Around here, we usually keep breakfasts pretty simple. Bacon and eggs, eggs and bacon, that sort of thing. Sometimes, for variety, we add cottage cheese, veggies, or fruit to the menu.

    And then, other times, we feel like splurging a bit. Usually in those cases, our minds (Tim’s for sure!) turn to biscuits.

    Finding the perfect recipe was a bit of a journey. Especially since we started with store-bought biscuits out of a can. I still shudder sometimes to think of it.

    This recipe is not original to me. I found it online at bakerbettie.com

    The enjoyment we get from eating these flaky rounds of yummyness is ours, though. They are amazing with butter and honey or jam, with Tim’s delicious sausage gravy, or as breakfast sandwiches. Or even reheated with a little butter.

    biscuit bacon egg and cheese sandwiches

    OLD FASHIONED LARD BISCUITS


    Ingredients

    • 2 c Flour
    • 1 T Baking Powder
    • 1/4 t Baking Soda
    • 1 1/4 t Salt
    • 6 T Leaf Lard, cold *
    • 1 c Buttermilk, cold

    Instructions

    Preheat oven to 450 degrees and make sure an oven rack is in the center of the oven.

    Grease a cake pan or cookie sheet or line with parchment paper or a silicone baking mat, if desired. I never grease my pan for biscuits and they seldom stick more than a little bit. If you use a cookie sheet, make sure it has a rim to keep any melted lard from running off.

    Keep lard and buttermilk in the refrigerator until needed.

    In a large mixing bowl, combine the dry ingredients and whisk. *

    flour mixture in a mixer bowl

    Add in the cold lard and cut into the flour mixture using a pastry blender or fork. You want the lard to be mostly in pea-sized pieces with a few larger.

    pieces of butter in flour mixture in a mixer bowl
    butter pieces in flour mixture

    Add the cold buttermilk and stir with a spoon or spatula until just combined. This will not take long and you don’t want to overmix as the biscuits will be tough. The batter/dough will be pretty wet and sticky.

    buttermilk in flour mixture

    Turn the mixture out onto a floured table or countertop. Dust flour over the top. With floured hands, bring the dough into one mass.

    flour on a table

    Pat the dough out and then fold in half. Turn 90 degrees and pat out again. Repeat this 5-6 times. The folds help the biscuits end up flakier.

    patting out biscuit dough

    Press the layered dough out until it’s about an inch thick and use a round cutter that has been dipped in flour to cut the biscuits. Press straight down with the cutter and do not twist. Pat the scraps back together and cut again. Or you can pat the dough into a rectangle and use a sharp knife to divide into 8 biscuits.

    a cut biscuit round
    cutting out biscuits

    Place the biscuits in the prepared pan, making sure the edges are touching to help the biscuits rise.

    unbaked biscuits on a cookie sheet

    Bake for 13-15 minutes until golden brown. Do not open the door for at least the first half of the bake time. Keeping the steam trapped inside the oven helps with the rise.

    golden brown biscuits on a cookie sheet

    Let cool, if possible, and then enjoy however you choose.

    Notes

    * I have substituted butter, tallow, and bacon grease for the lard with no problems. You just want it cold when it goes in.

    *I make mine in my stand mixer and it works just great. Just don’t overmix.

  • Our Favorite Buttermilk Pancakes (Make-Ahead & Fluffy!)

    Our Favorite Buttermilk Pancakes (Make-Ahead & Fluffy!)

    If you are like me, then from time to time, you have children—or even a spouse—who ask for pancakes. While I’m thankful it doesn’t lead to a situation like If You Give a Pig a Pancake, it still sparks some familiar questions: Do I want classic or fluffy? More ingredients or fewer? Regular or buttermilk?

    For years, I wrestled with that dilemma. We don’t buy pancake mix, so every time I needed to make some from scratch, my mind would start scrambling. What recipe did I use last time? Was that the favorite or just another okay one?

    Over time, I started narrowing down the options. I discovered that my family’s favorite pancakes were fluffy, a bit more complex in ingredients, and made with buttermilk. That helped—sort of. It still left a lot of recipes to sift through. Pun intended. 🙂

    And then, there was the timing. If I got up and started mixing the batter, I had maybe 5–10 minutes before my “Kitchen Crew” showed up to help. Some would come in jabbering a mile a minute, eager to grab something—anything—and get to work. Others would stumble in, rubbing eyes and stifling yawns, but still determined to be part of the process. While not a problem, it did highlight another preference. Pancake batter that could be made ahead. 

    If I could mix up the batter the night before and only have to flip them the morning of, that would save a ton of time. Especially with the size of my family and their colossal appetites. A batch of pancakes that made 8-10 2″ pancakes just didn’t cut it. 

    So you can imagine my relief when I found a recipe that checked all the boxes. It made fluffy pancakes that were easy to mix up without skimping on the ingredients and called for buttermilk. It had yeast in it so it could be made ahead and put in the fridge overnight to fluff. And it even came with some bonuses. It wasn’t too sweet and it didn’t even have to be doubled. That’s what I call a winner! 

    It took all of one time to know we had finally found our favorite pancake recipe. This time, I ignored the voice that said I’d for sure remember which recipe we liked, and wrote it down on a recipe card. Not going to lose that one!

    I wish I could remember where I originally found the recipe—I’m pretty sure it was Pinterest, but the exact source is lost to time. If you recognize it, let me know so I can give credit where it’s due!

    INGREDIENTS

    4 Cups Flour

    1 Tablespoon Yeast*

    1 Tablespoon Baking Powder

    2 Tablespoons Sugar

    2 Teaspoons Baking Soda

    1 Teaspoon Salt

    4 Eggs, Lightly Beaten

    4 Cups Buttermilk

    1/4 Cup Oil

    INSTRUCTIONS

    In a large bowl or the bowl of your stand mixer, whisk all the dry ingredients. Add wet ingredients and mix until just combined. Cover and refrigerate 8-24 hours. Stir before cooking. 

    Makes about 20-24 3″ pancakes. 

    *If you use active dry yeast, activate it in a 1/4 cup warm water or buttermilk and let sit for 5-10 minutes, while it blooms. If you use instant yeast, just follow the recipe as given.

    So whether you’re flipping for a crowd or just need a little breakfast win, I hope this recipe brings as many smiles to your table as it has to ours. And if your Kitchen Crew shows up to help… pour them a little extra syrup for me.

    Just don’t blame me if giving your kid a pancake leads to building a treehouse and finding a harmonica. 😉