Tag: canning

  • Deer Bone Broth

    Deer Bone Broth

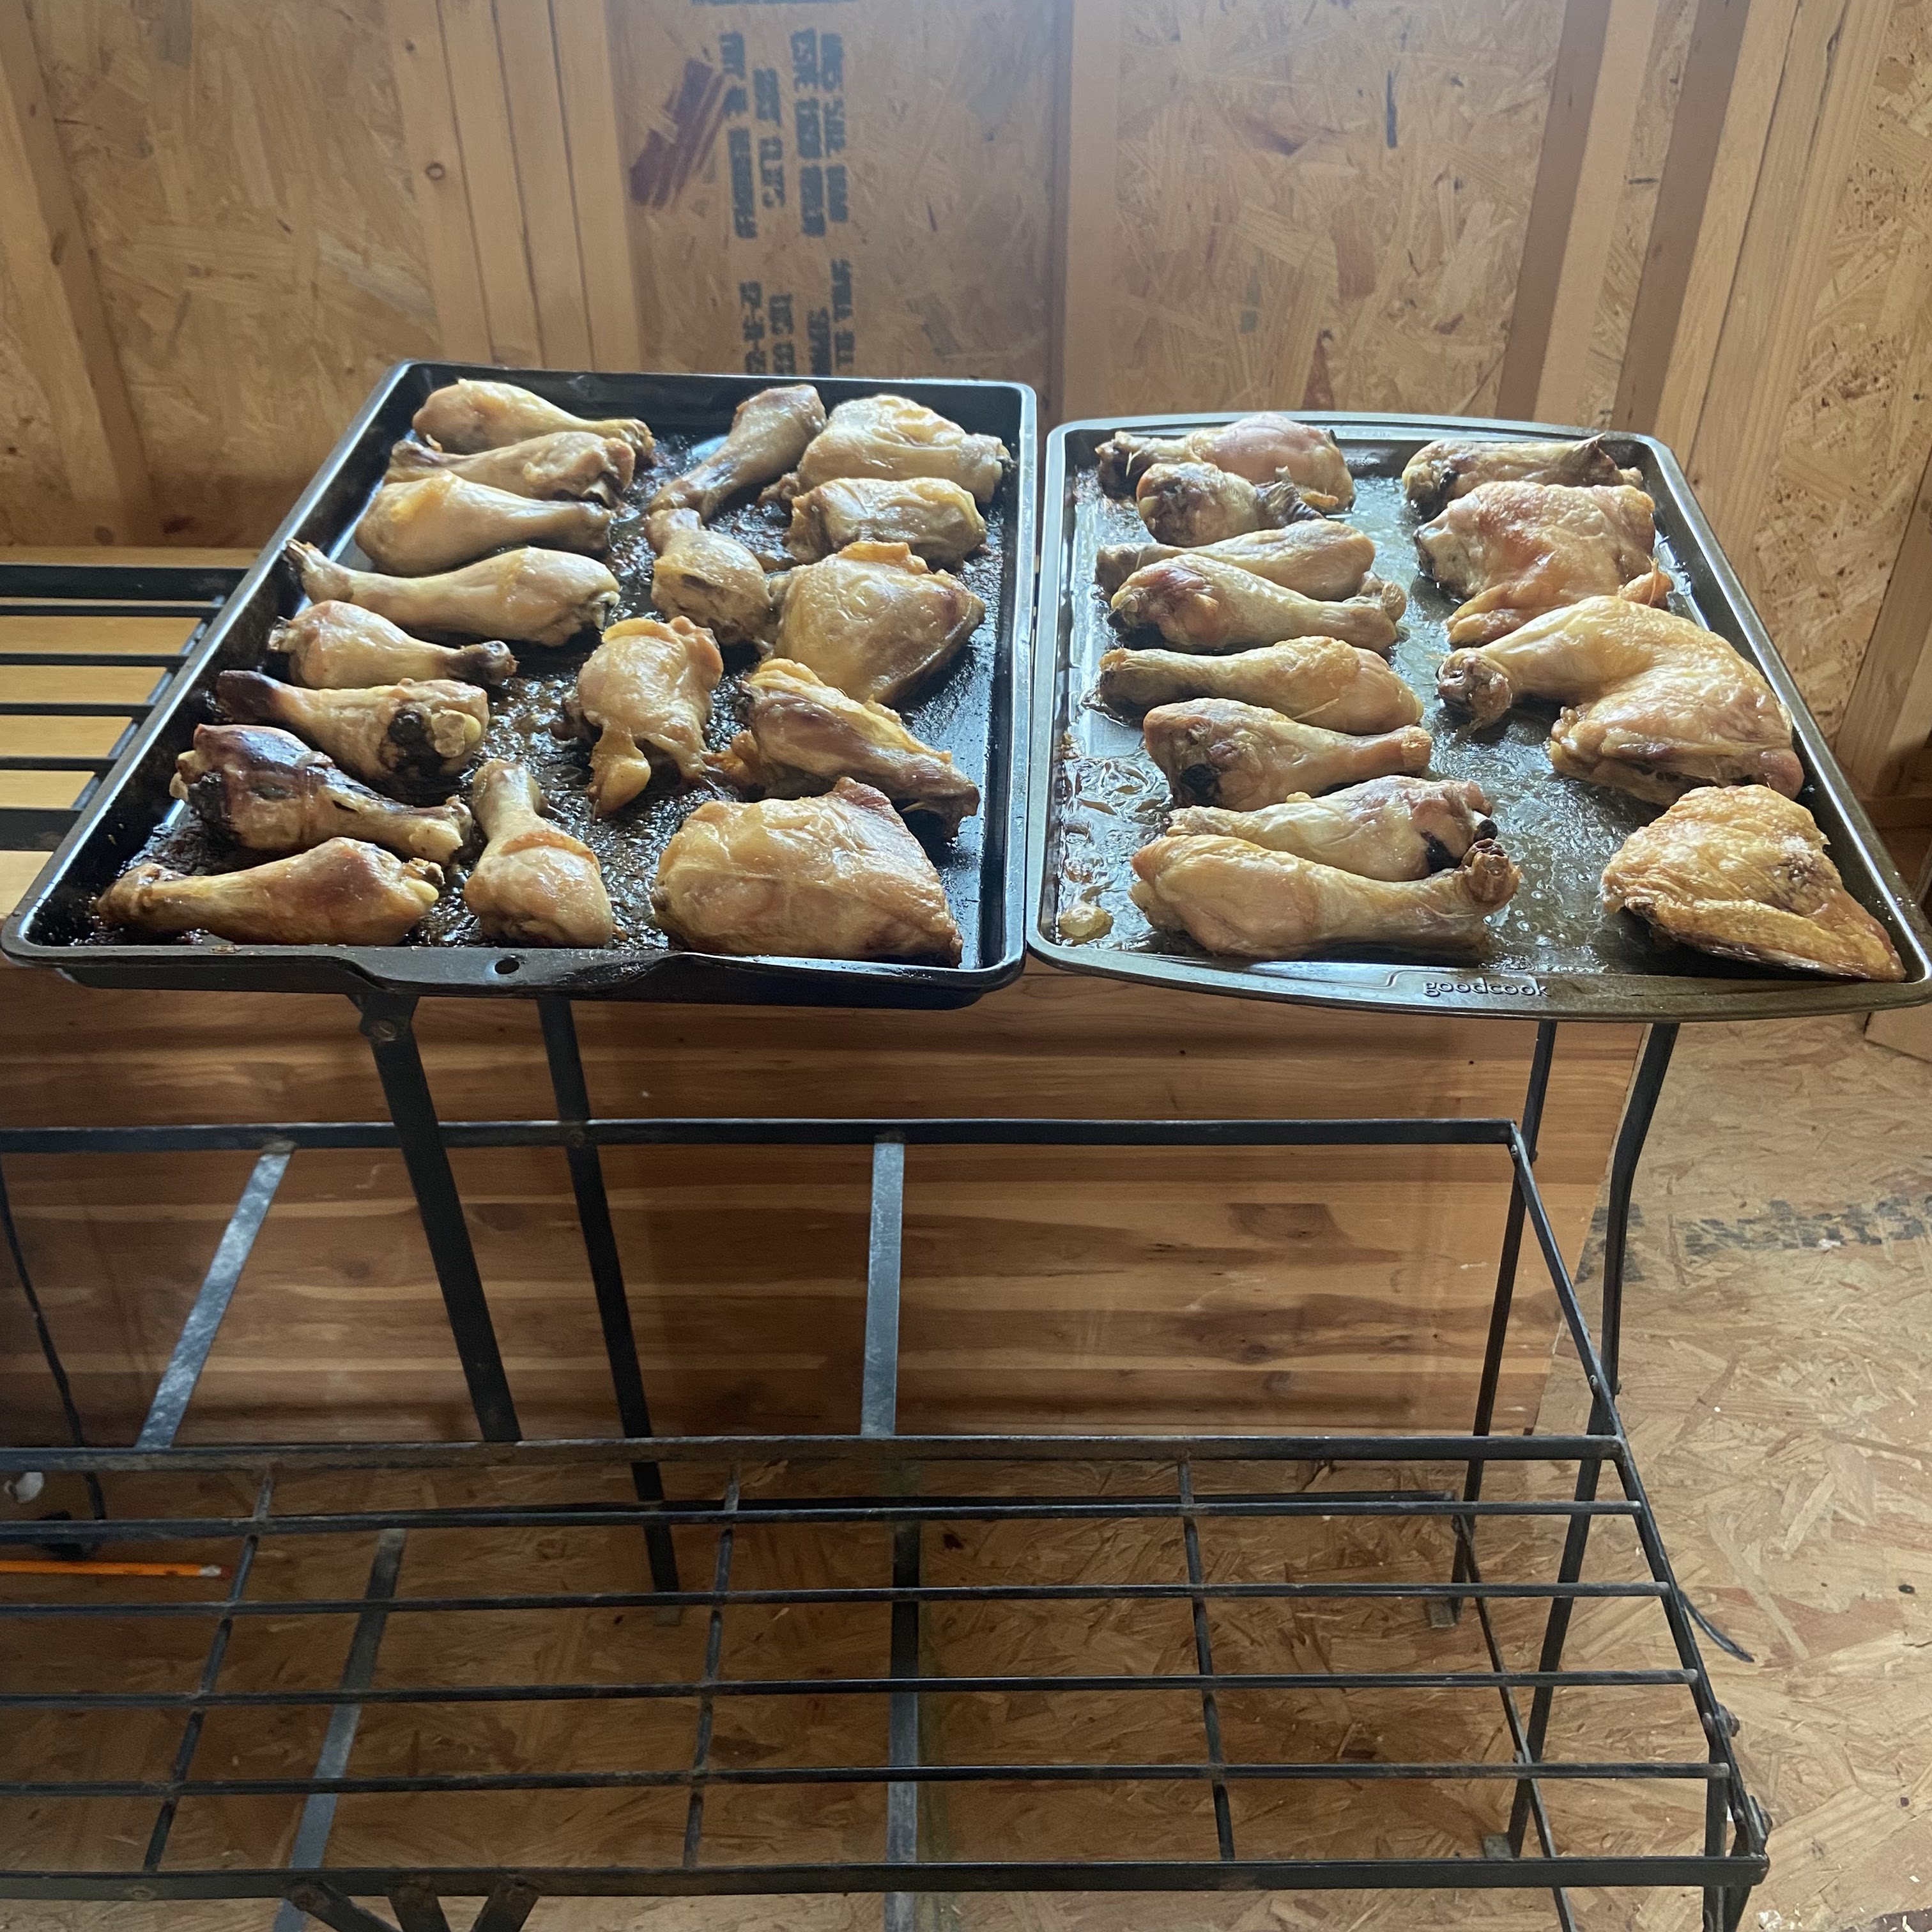
    Bone broth is one of the most nutrient-dense foods you can preserve for your pantry shelves. When made with venison bones, it brings a deep flavor and is full of collagen, minerals, and marrow. Pressure canning makes it shelf-stable and ready to use anytime for soups, gravies, or sipping on its own.

    5 quart jars of home-canned deer bone broth sitting on a towel on a counter

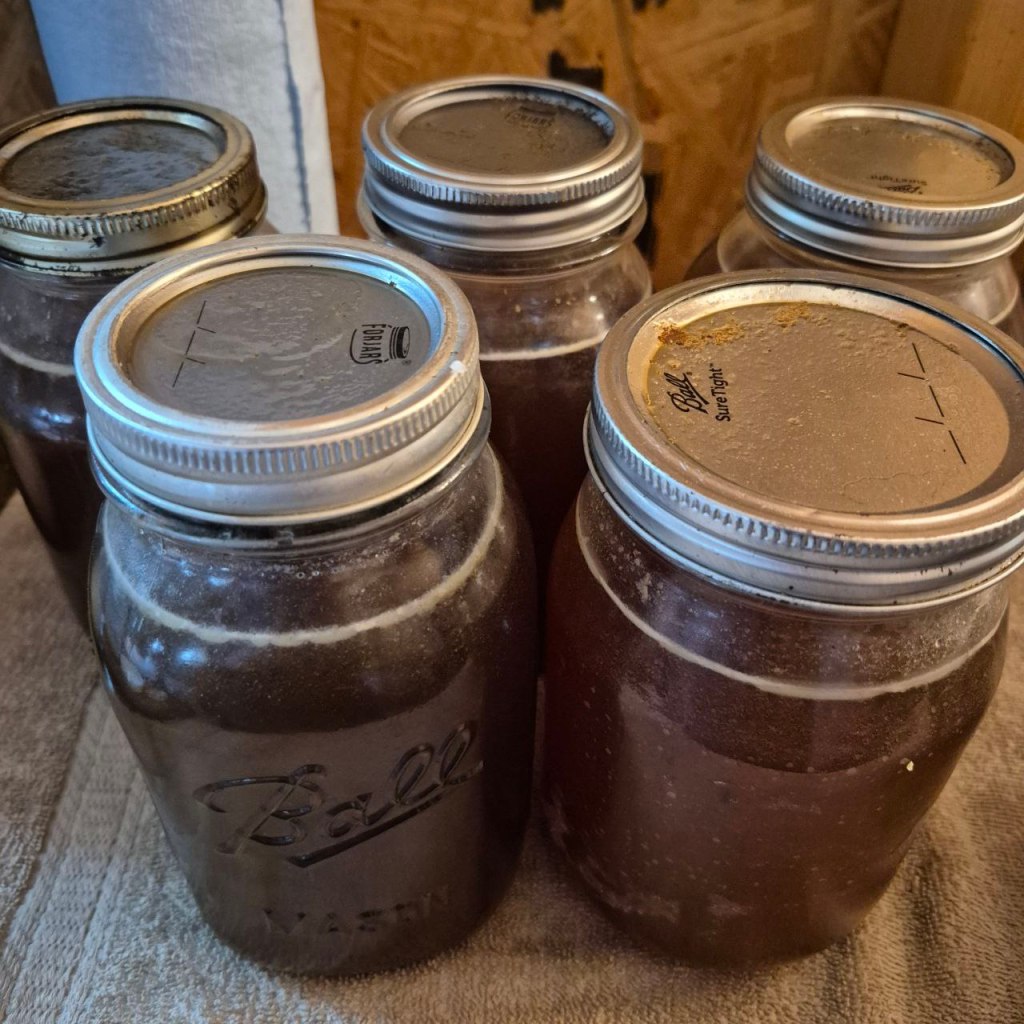
    This is not a recipe that has to be followed exactly, but simply what we did this time. Last time was different and next time will probably be different again. We ended up with enough broth to can 7 quarts, but obviously that depends on the amount of bones you start with and how strong you want it.

    Ingredients

    • Deer bones, cut into smaller pieces (helps release marrow and collagen)
    • Water (enough to cover bones in stockpot, refill as needed)
    • 1–2 garlic cloves
    • 1 onion, quartered
    • A handful of carrot tops
    • A handful of radish tops
    • Fresh rosemary sprigs
    • Salt, to taste
    • A splash of vinegar (helps pull nutrients and minerals from the bones)

    Instructions

    Step 1: Prepare the Broth

    1. Place cut deer bones in a large stockpot.
    2. Add garlic, onion, carrot, radish tops, rosemary, salt, and vinegar.
    3. Cover with water.
    4. Bring to a boil, then reduce to a simmer. Let it cook long enough for the bones to release nutrients and flavor (at least 24 hours is ideal).

    Step 2: Strain and Fill Jars

    1. Strain broth through a fine strainer or cheesecloth to remove solids.
    2. Ladle hot broth into clean, hot quart jars, leaving 1 inch headspace.

    Step 3: Pressure Can

    1. Wipe rims, apply lids and bands.
    2. Place jars in pressure canner with 2–3 inches of simmering water. A splash of vinegar in the canner keeps hard water stains from forming.
    3. Process at 10 pounds pressure (adjust for altitude if needed):
      • Quarts: 25 minutes
      • If you don’t have enough jars of broth to fill the canner, put some jars of water in to keep everything from rattling around.

    Step 4: Cool and Store

    1. Allow canner to depressurize naturally.
    2. Remove jars and let them cool 24 hours without touching.
    3. Check seals before storing. Keep in a cool, dark place.

    Using Your Deer Bone Broth

    This broth is versatile—use it as a base for venison stew, wild rice soup, or simply heat it with a little extra seasoning, if needed, and sip it warm.

    Homestead Hilarity

    Micah, age 9 — A self proclaimed “hilly-billy”.

  • Fifty-Three Pounds Of Chicken

    Fifty-Three Pounds Of Chicken

    Hey there! Welcome back.

    What is your favorite way to process fifty-three pounds of frozen chicken if it suddenly landed on your counter? Probably like you, I had never thought of what I would do with that much chicken at once. But then a friend showed up with a large box of chicken pieces just hoping we would be willing to take it off their hands. How could I say no? It may have also been that saying no never even crossed my mind. I mean, this was fifty-three pounds of free chicken for me to put up. That sounded like a home canner’s dream come true. So I quickly decided that this much chicken just had to be canned, as that opened up practically endless possibilities for how it could be used later.

    Since the chicken was still frozen solid, I let it sit out to thaw, aiming to start processing once it was thawed enough to separate. After getting a “good” start, I saw that despite all the chicken baking and boiling and cooling I had gone through less than half the box. It was quickly becoming obvious that this was just the beginning of a full-blown chicken canning marathon.

    So, more chicken went into the oven, stockpan, and even my crockpot in a seemingly endless procession until all 120+ pieces were cooked and ready to be picked off the bones. 

    That was a whole process in itself and for a while I wasn’t sure if I was going to run out of chicken first, or fingers. Micah and Alayna both wanted to help, but as they struggle to detect all the bones, I stuck it out myself.

    Once the meat was all ready, I pulled out my jars, filled them with steaming meat, topped them off with broth and a little salt, and prepared my pressure canner. Only to find that the weight was missing. That sent me into researching and digging until I found out how to water bath chicken. Since my water bath canner was also missing in action I made do with a large stock pan. Now, before anyone gets worried, I know pressure canning is the standard for meat, but since water bath canning used to be all anyone did, I decided to give it a try.

    I have to admit, waiting the entire 180 minutes while the jars canned was definitely not my favorite part of it all. Since I was using a substitute pot, it was not tall enough to put as much water in as was needed. Instead, I had another pan of water going and kept topping off the “canner” when it got a little low.

    After removing all the bones for bone meal, the scraps for dog food, and enough meat to make four meals for ten people, I was able to put up five quarts of chicken. Not a huge amount, but I was happy.

    By the time I was done, it was 11 PM and I was rather tired but satisfied. Seeing those jars lined up on the counter, knowing they’d be feeding my family in the months to come, made all the effort feel worthwhile. It’s funny how something as simple as preserving food can feel like such an accomplishment, but every time I do it, I’m reminded why I love it.

    And now, if fifty-three pounds of chicken shows up at my door again, I will know what to do with it!