Tag: dinner

  • Flaky Homemade Pie Crust

    Flaky Homemade Pie Crust

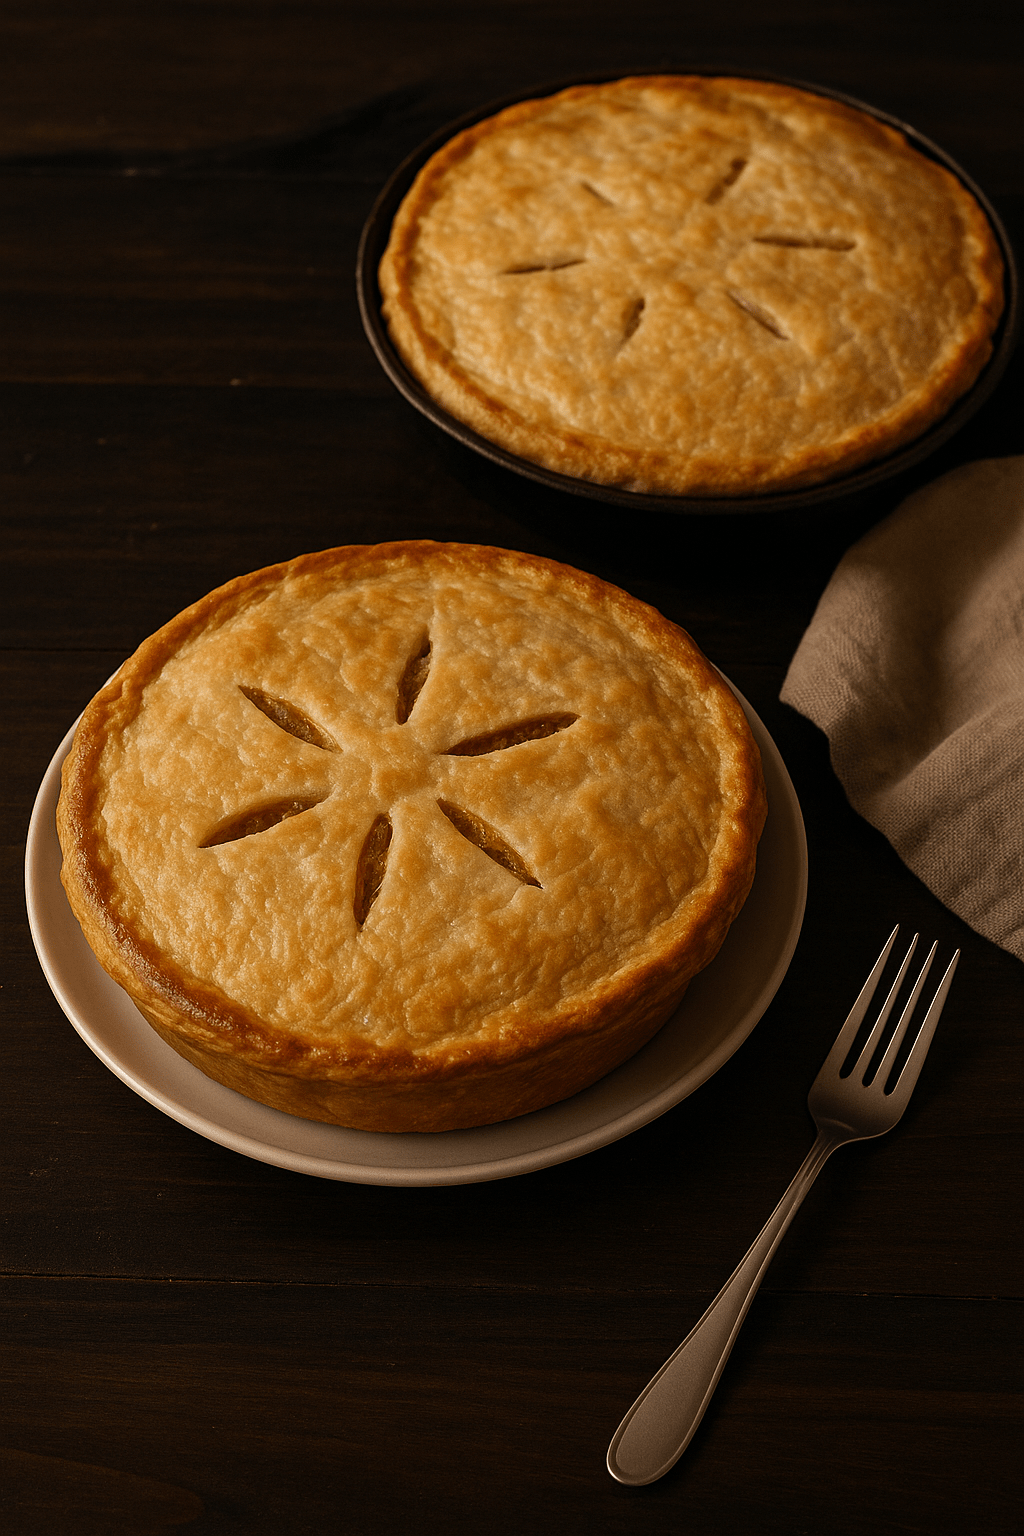
    A classic, buttery, reliable crust for fruit pies, pot pies, cream pies, and more.

    This is my go-to pie crust — tender, flaky, and simple enough for everyday baking yet sturdy enough for deep-dish pies and savory pies. It uses basic pantry ingredients and comes together quickly, even in large batches.


    Ingredients

    (Makes one double crust or two single crusts)

    • 2 ½ cups (315 g) all-purpose flour
    • 1 teaspoon salt
    • 1 cup (2 sticks / 226 g) cold unsalted butter
      • or ½ butter + ½ lard for extra flake
    • 6–8 tablespoons ice water
    • Optional: 1 teaspoon vinegar or lemon juice (helps prevent toughness)

    Instructions

    1. Mix dry ingredients.

    Whisk together flour and salt in a large mixing bowl.

    2. Cut in the fat.

    Add cold, cubed butter.
    Use a pastry cutter or your fingertips to blend until the mixture has pea-sized pieces with some larger flakes.
    Visible butter = flaky crust.

    3. Add water.

    Sprinkle in 4 tablespoons of ice water, tossing gently.
    Add more water, 1 tablespoon at a time, just until the dough holds together when squeezed.
    Do not overwork.

    4. Chill.

    Divide the dough into two discs, wrap tightly, and refrigerate for at least 1 hour (or up to 2 days).
    This rest time relaxes the dough and keeps the butter cold.

    5. Roll out.

    Roll the first disc on a lightly floured surface to about ⅛ inch thick.
    Transfer to a 9-inch pie dish. Add your filling or continue to the prebaking instructions below.


    When to Prebake (Blind Bake)

    Most pies do NOT need the crust baked ahead of time.
    Use the guide below to choose the right method:


    NO Prebake Needed

    Use a raw crust for:

    • Apple pie
    • Berry pies
    • Cherry, peach, rhubarb
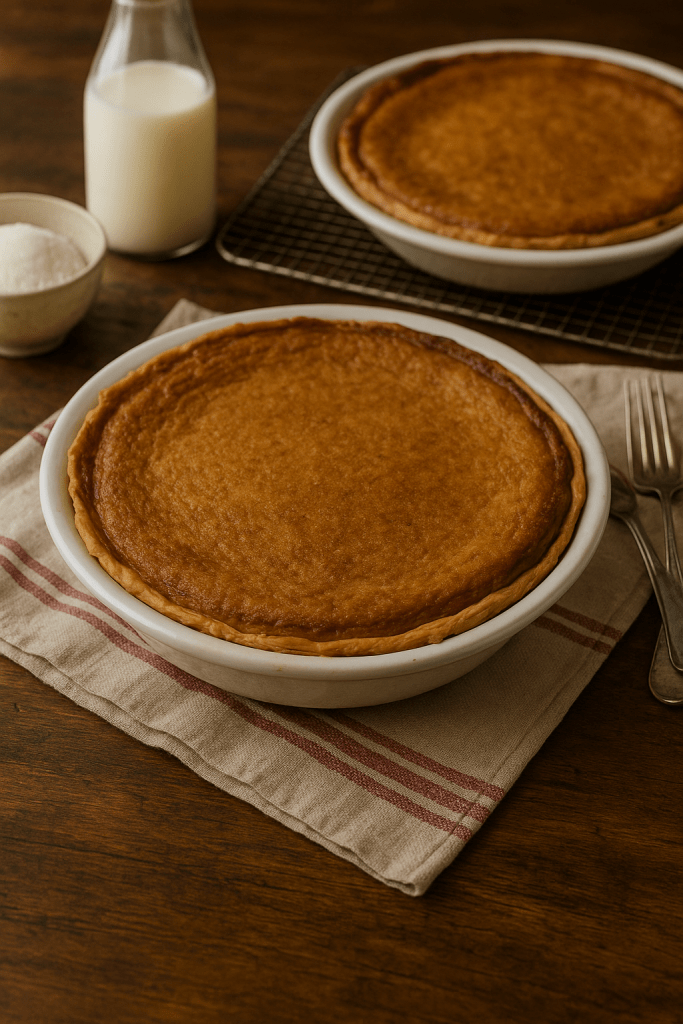
    • Pumpkin pie
    • Pecan pie
    • Meat/vegetable pot pies

    Just fill the raw crust and bake according to your recipe.


    Partial Blind Bake (Quiche & Lightly-Baked Fillings)

    Needed for:

    • Quiche
    • Custard pies that bake at low heat
    • Some tarts

    How to Partial Bake:

    1. Chill rolled crust 10 minutes in freezer (prevents shrinking).
    2. Line with parchment + pie weights.
    3. Bake at 375°F (190°C) for 15 minutes.
    4. Remove weights.
    5. Bake 5 more minutes, until the bottom looks set but not browned.

    Full Blind Bake (Cream Pies & No-Bake Fillings)

    Needed for:

    • Banana cream
    • Chocolate cream
    • Coconut cream
    • French silk
    • Any pie where the crust must be fully cooked before filling

    How to Fully Blind Bake:

    1. Chill rolled crust 10 minutes.
    2. Line with parchment + pie weights.
    3. Bake at 375°F for 15 minutes.
    4. Remove weights.
    5. Bake 10–15 minutes more, until golden brown and crisp.

    Total time: about 25–30 minutes.


    Tips for Best Results

    • Keep ingredients cold for maximum flake.
    • If the dough softens while rolling, chill 10 minutes and resume.
    • For a glossy top crust, brush with an egg wash before baking (1 egg beaten with 1 tbsp milk).
    • Dough discs freeze well for up to 3 months.
  • Best Ham Glaze Recipe

    Best Ham Glaze Recipe

    a sliced ham on a platter with herbs

    Prep Time: 10 min | Cook Time: 10–15 min | Makes: Enough for 1 large ham

    🧂 Ingredients

    • 1 cup brown sugar (light or dark)
    • ¼ cup honey
    • ¼ cup orange juice (or pineapple juice)
    • 2 Tbsp Dijon mustard
    • 1 Tbsp apple cider vinegar
    • ½ tsp ground cloves
    • ½ tsp cinnamon
    • ¼ tsp black pepper

    🔪 Directions

    1. Combine ingredients.
      In a small saucepan, whisk together all ingredients.
    2. Simmer.
      Cook over medium heat until the sugar dissolves and the glaze thickens slightly, about 10–15 minutes. Stir often to prevent burning.
    3. Glaze the ham.
      Brush half the glaze over your ham before baking. During the last 20 minutes of baking, brush with the remaining glaze every 5–7 minutes for that glossy, caramelized finish.
    4. Optional:
      Add 1–2 tablespoons of the pan drippings to the leftover glaze for extra flavor before serving.

    💡 Tips

    • If you prefer a lighter flavor, replace honey with maple syrup.
    • For a deeper glaze, use dark brown sugar and orange zest.
    • Works beautifully on spiral-cut, bone-in, or boneless hams.

    🕯️ Recipe Note

    There’s something special about that golden, sticky glaze bubbling in the oven — the smell alone feels like the holidays. Keep it simple, keep it sweet, and you’ll have a ham that shines as bright as your table.

  • Deer Bone Broth

    Deer Bone Broth

    Bone broth is one of the most nutrient-dense foods you can preserve for your pantry shelves. When made with venison bones, it brings a deep flavor and is full of collagen, minerals, and marrow. Pressure canning makes it shelf-stable and ready to use anytime for soups, gravies, or sipping on its own.

    5 quart jars of home-canned deer bone broth sitting on a towel on a counter

    This is not a recipe that has to be followed exactly, but simply what we did this time. Last time was different and next time will probably be different again. We ended up with enough broth to can 7 quarts, but obviously that depends on the amount of bones you start with and how strong you want it.

    Ingredients

    • Deer bones, cut into smaller pieces (helps release marrow and collagen)
    • Water (enough to cover bones in stockpot, refill as needed)
    • 1–2 garlic cloves
    • 1 onion, quartered
    • A handful of carrot tops
    • A handful of radish tops
    • Fresh rosemary sprigs
    • Salt, to taste
    • A splash of vinegar (helps pull nutrients and minerals from the bones)

    Instructions

    Step 1: Prepare the Broth

    1. Place cut deer bones in a large stockpot.
    2. Add garlic, onion, carrot, radish tops, rosemary, salt, and vinegar.
    3. Cover with water.
    4. Bring to a boil, then reduce to a simmer. Let it cook long enough for the bones to release nutrients and flavor (at least 24 hours is ideal).

    Step 2: Strain and Fill Jars

    1. Strain broth through a fine strainer or cheesecloth to remove solids.
    2. Ladle hot broth into clean, hot quart jars, leaving 1 inch headspace.

    Step 3: Pressure Can

    1. Wipe rims, apply lids and bands.
    2. Place jars in pressure canner with 2–3 inches of simmering water. A splash of vinegar in the canner keeps hard water stains from forming.
    3. Process at 10 pounds pressure (adjust for altitude if needed):
      • Quarts: 25 minutes
      • If you don’t have enough jars of broth to fill the canner, put some jars of water in to keep everything from rattling around.

    Step 4: Cool and Store

    1. Allow canner to depressurize naturally.
    2. Remove jars and let them cool 24 hours without touching.
    3. Check seals before storing. Keep in a cool, dark place.

    Using Your Deer Bone Broth

    This broth is versatile—use it as a base for venison stew, wild rice soup, or simply heat it with a little extra seasoning, if needed, and sip it warm.

    Homestead Hilarity

    Micah, age 9 — A self proclaimed “hilly-billy”.

  • Bluegill Supper

    Some of y’all might disagree, but nothing tastes quite like fried bluegill that you caught yourself. Especially when it’s pan fried so nicely and combined with foraged Train Wrecker mushrooms and sautéed green beans.

    Tim brought in most of the fish, but Micah managed to land one too.

    I cleaned them the night we caught them while Tim made the marinade for them.

    Once all 10 were ready to go, Tim placed them in the marinade and we put them in the fridge overnight.

    Then, the next afternoon I went looking for mushrooms. We had seen a cluster of them, so I knew where to go.

    Train Wreckers, or Neolentinus lepideus, earned the name by their ability to grow on highly treated railroad ties. If they’re ignored, the tie would eventually disintegrate and could cause a train wreck. Thankfully for us, these mushrooms were growing on a pine root which meant they were safe to eat.

    They do have some look-alikes, some of which are poisonous, so a positive ID is essential before they go in the skillet.

    Fresh green beans were in the fridge just waiting to be used. And so the meal came together.

    The results were delicious and filling. We’re already planning our next fish meal. 😊

  • Fifty-Three Pounds Of Chicken

    Fifty-Three Pounds Of Chicken

    Hey there! Welcome back.

    What is your favorite way to process fifty-three pounds of frozen chicken if it suddenly landed on your counter? Probably like you, I had never thought of what I would do with that much chicken at once. But then a friend showed up with a large box of chicken pieces just hoping we would be willing to take it off their hands. How could I say no? It may have also been that saying no never even crossed my mind. I mean, this was fifty-three pounds of free chicken for me to put up. That sounded like a home canner’s dream come true. So I quickly decided that this much chicken just had to be canned, as that opened up practically endless possibilities for how it could be used later.

    Since the chicken was still frozen solid, I let it sit out to thaw, aiming to start processing once it was thawed enough to separate. After getting a “good” start, I saw that despite all the chicken baking and boiling and cooling I had gone through less than half the box. It was quickly becoming obvious that this was just the beginning of a full-blown chicken canning marathon.

    So, more chicken went into the oven, stockpan, and even my crockpot in a seemingly endless procession until all 120+ pieces were cooked and ready to be picked off the bones. 

    That was a whole process in itself and for a while I wasn’t sure if I was going to run out of chicken first, or fingers. Micah and Alayna both wanted to help, but as they struggle to detect all the bones, I stuck it out myself.

    Once the meat was all ready, I pulled out my jars, filled them with steaming meat, topped them off with broth and a little salt, and prepared my pressure canner. Only to find that the weight was missing. That sent me into researching and digging until I found out how to water bath chicken. Since my water bath canner was also missing in action I made do with a large stock pan. Now, before anyone gets worried, I know pressure canning is the standard for meat, but since water bath canning used to be all anyone did, I decided to give it a try.

    I have to admit, waiting the entire 180 minutes while the jars canned was definitely not my favorite part of it all. Since I was using a substitute pot, it was not tall enough to put as much water in as was needed. Instead, I had another pan of water going and kept topping off the “canner” when it got a little low.

    After removing all the bones for bone meal, the scraps for dog food, and enough meat to make four meals for ten people, I was able to put up five quarts of chicken. Not a huge amount, but I was happy.

    By the time I was done, it was 11 PM and I was rather tired but satisfied. Seeing those jars lined up on the counter, knowing they’d be feeding my family in the months to come, made all the effort feel worthwhile. It’s funny how something as simple as preserving food can feel like such an accomplishment, but every time I do it, I’m reminded why I love it.

    And now, if fifty-three pounds of chicken shows up at my door again, I will know what to do with it!