Prep Time: 15 minutes
Bake Time: 55–65 minutes
Serves: 8
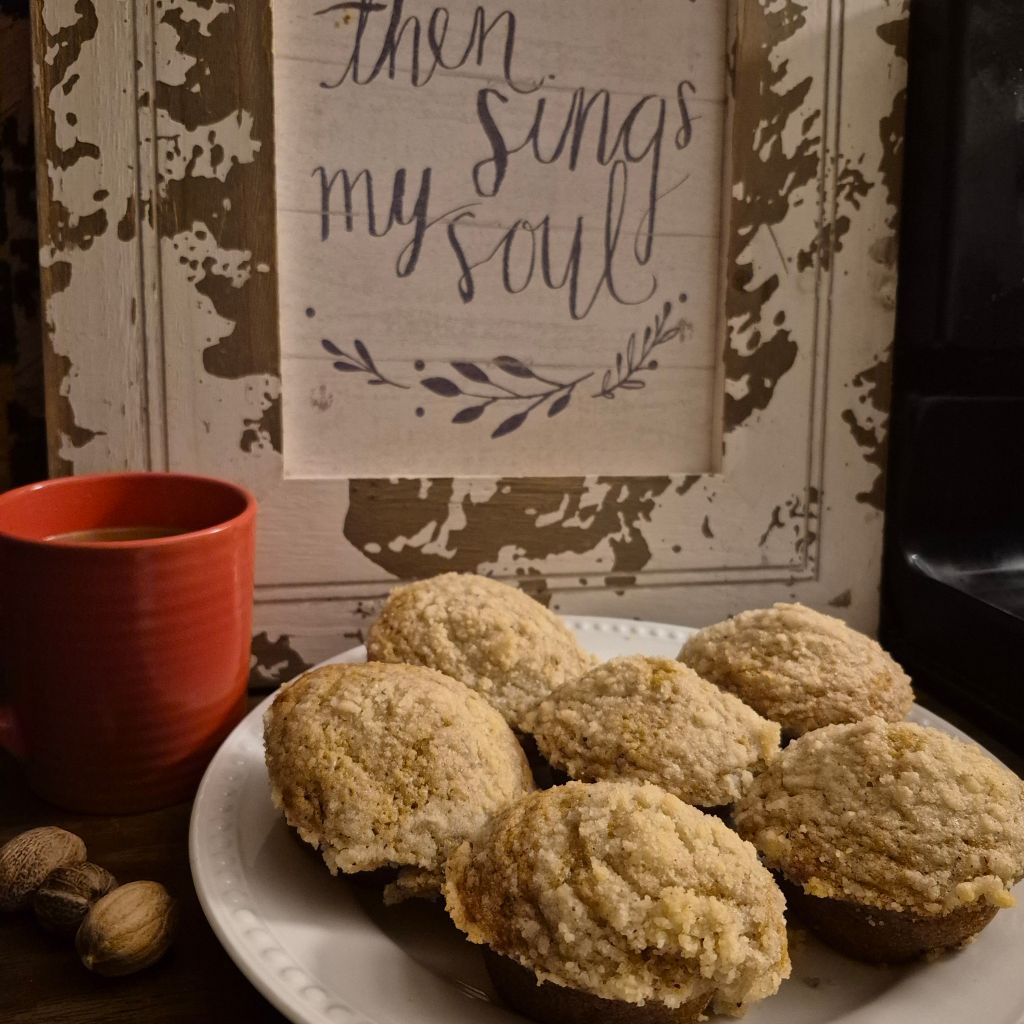
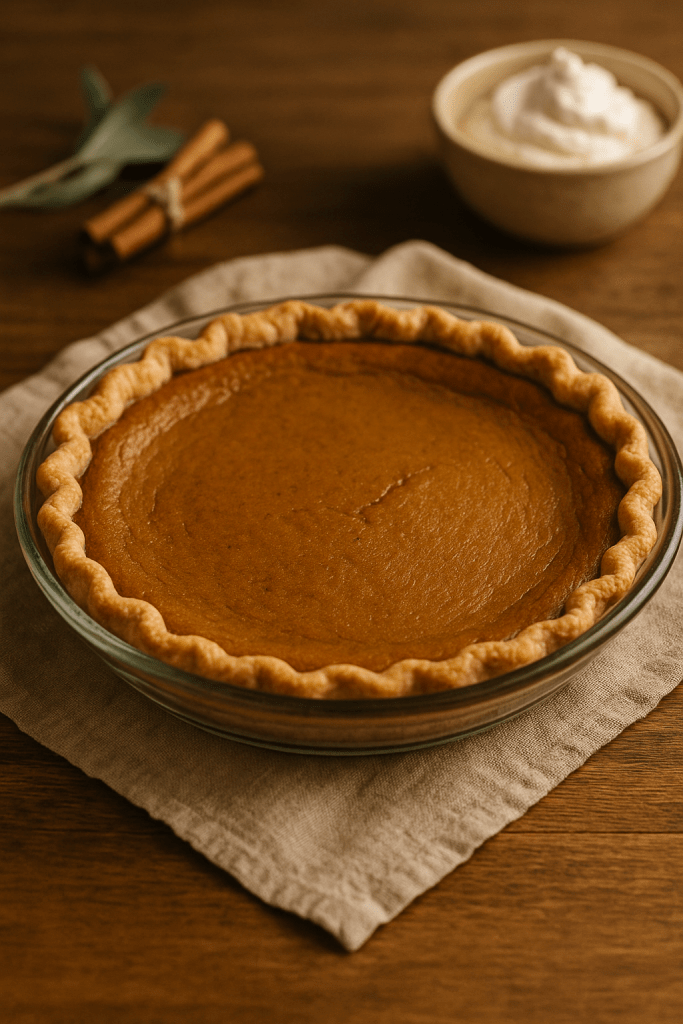
This is the pumpkin pie everyone hopes will show up on the Thanksgiving table — smooth, rich, warmly spiced, and nestled in a flaky, buttery crust. No shortcuts, no odd flavors, just the holiday classic done right.
🧂 Ingredients
For the Pie Filling
- 1 (15 oz) can pumpkin purée
- 1 cup heavy cream
- ½ cup whole milk
- ¾ cup sugar
- 2 large eggs
- 1 egg yolk
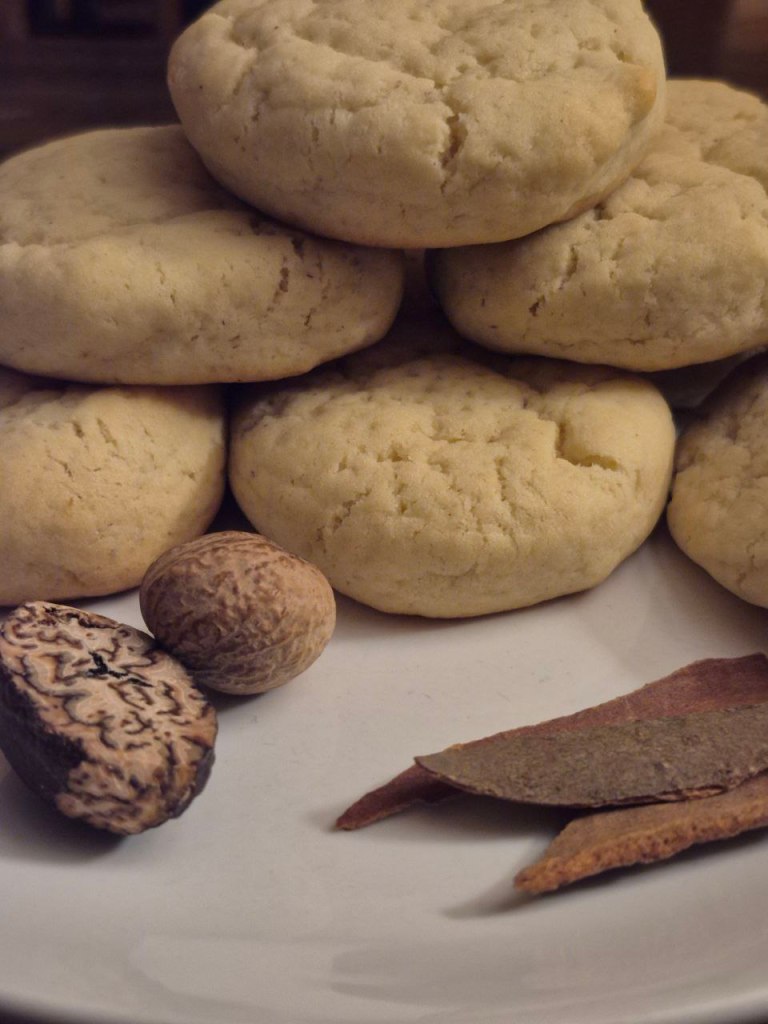
- 1 ½ tsp cinnamon
- ½ tsp ginger
- ¼ tsp nutmeg
- ¼ tsp cloves (or allspice)
- ½ tsp salt
- 1 tsp vanilla
For the Crust
Use your favorite homemade pie crust (your flaky one!) or a good-quality unbaked 9-inch pie shell.
🔪 Instructions
1. Prepare the crust.
Place your unbaked pie crust into a 9-inch pie dish. Flute or crimp the edges. Keep chilled while you mix the filling.
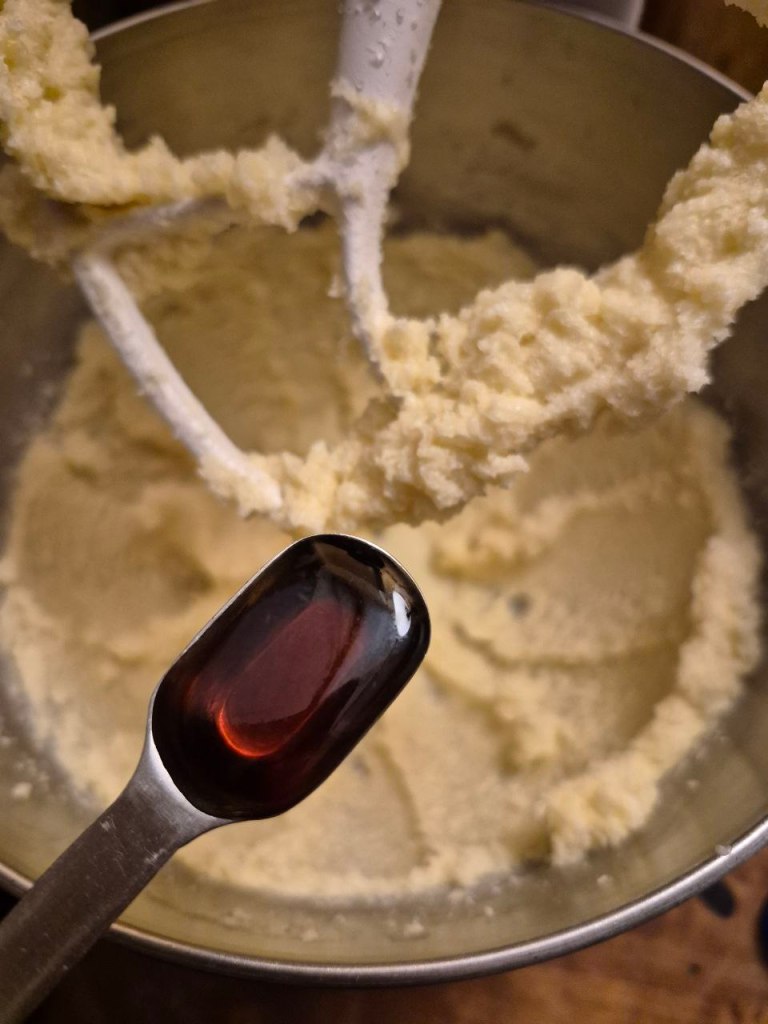
2. Mix the filling.
In a large bowl, whisk together the pumpkin, sugar, spices, and salt. Add eggs + yolk and whisk until smooth. Stir in cream, milk, and vanilla until fully combined.
3. Fill the crust.
Pour the pumpkin mixture into your prepared pie shell.
4. Bake.
Bake at 425°F for 15 minutes, then reduce heat to 350°F and bake 40–50 minutes, or until:
- the edges are set,
- the center still has a gentle wobble,
- and a knife inserted 1 inch from the crust comes out mostly clean.
5. Cool completely.
Let cool on a wire rack for at least 2 hours. This helps it fully set and slice cleanly.
💡 Tips for the Perfect Pumpkin Pie
- If the crust edges brown too quickly, tent them with foil.
- Don’t over-bake — slight jiggle = creamy texture.
- Serve with lightly sweetened whipped cream and a dusting of cinnamon.
- Make it a day ahead for the best flavor and cleanest slices.
🕯️ Bringing Life Note
Pumpkin pie is the warm smell of Thanksgiving — cinnamon drifting through the house, a flaky crust cooling on the counter, and that first velvety slice after supper. Keep it simple, keep it classic, and it will never disappoint.